Hello folks,
This blog provides a walkthrough for a newly added machine on TryHackMe called “Clocky”. It has been classified as a Medium-level challenge. It will help you understand how to identify misconfigurations on Linux-based web servers using various penetration testing tools and techniques. Let’s proceed without any delay and begin the penetration process.
You can access the Clocky machine on TryHackMe by clicking here.
First, let’s start the machine by clicking “Start Machine”. We can start scanning the obtained IP using nmap with the help of the following command:
nmap -sC <Machine_IP>
We can see that 4 ports are open i.e. SSH (22) and others are HTTP ports- 80, 8000, and 8080. Also, we have robots.txt available here where 3 disallowed entries are present: *.sql, *.zip, and *.bak. Let’s confirm the same by visiting the robots.txt file using the following URL:
http://<Machine_IP>/robots.txt
We will find the above-mentioned disallowed entries with our first flag.
Now we can use gobuster to identify if there are any files available for these extensions on all HTTP ports. We will find that on port 8000, we have a file name index.zip using the following command:
gobuster dir –url http://<Machine_IP>:8000 -w /usr/share/wordlists/dirbuster/directory-list-2.3-medium.txt -x sql,bak,zip -t 50
Let’s download the file by visiting the URL on our browser. We need to decompress the file using the following command:
unzip index.zip
After decompressing the file, we will find 2 files; flag2.txt and app.py. We can first read the contents of the flag2.txt file to get our second flag.
The app.py file is a Python script. This file looks like the server-side code of the web application. After reading the code, we can understand that there are some web pages available on port 8080 such as /administrator, /password_reset, and /forgot_password which are related to authentication functionality.
Let’s explore the web pages one by one. If we go to /administrator page, we will find a login page that requires a username and password. The /forgot_password page requires us to provide a username for which the password reset token is generated whose algorithm is mentioned in the app.py file. From lines 96-98 of app.py, it is mentioned that the token is generated based on username and current date & time (including seconds as well.) To generate a token value, we have to write a code in Python.
After exploring, we wrote a code and uploaded it to our GitHub repository. In the script, we need to mention the username for which we want to generate the password reset token. In the app.py file, we found 4 usernames; clocky_user, administrator, jane, and clarice.
We have to run the script for all the users and after running it, we will find a token value that we can use to reset the password of the administrator user.
Now to reset the password, we need to visit the /password_reset webpage and there we need to provide a parameter called a token after that, we have to paste the obtained token value as follows:
http://<Machine_IP>:8080/password_reset?token=<Token_Value>
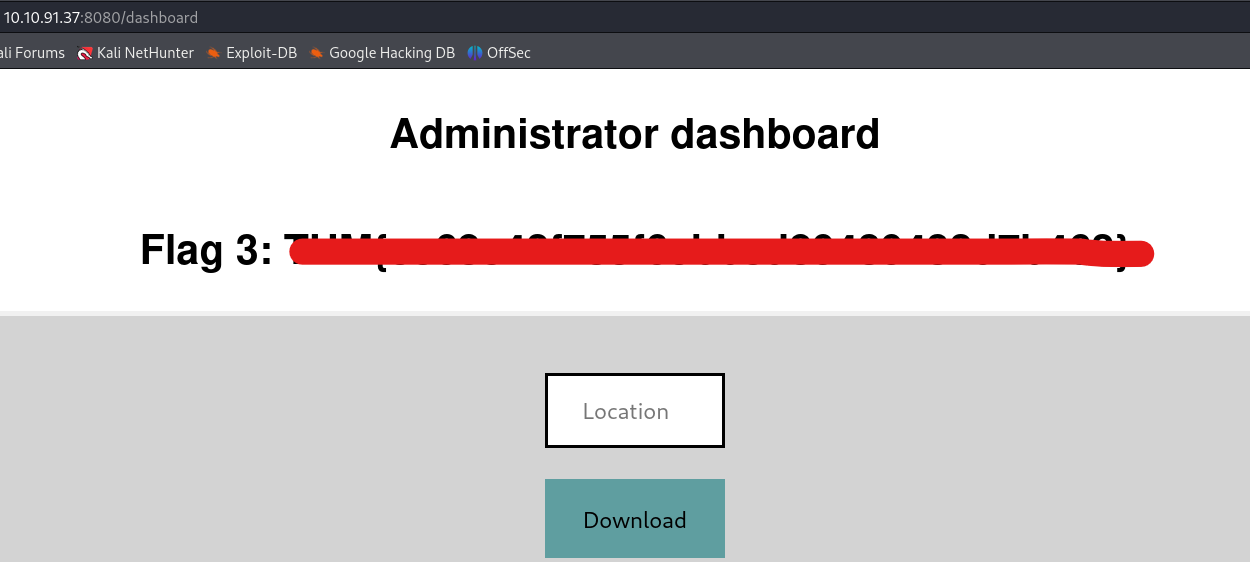
We will find that we can successfully reset the password of the administrator user. Now we can visit the /administrator webpage and finally log in as administrator users with the newly updated password. There we will find our third flag.
Getting Foothold on Clocky
On the admin page, we have a functionality to download any file that is hosted on the web server but if we try to download any webpage using the following URL, we get an error saying “Action not permitted”:
http://localhost
We can bypass it by converting some characters to upper case. Also, we saw a database file in app.py named database.sql, so let’s try to download it by providing the following URL to the specified location:
http://Localhost/database.sql
We will find that the file is downloaded successfully. If we open the file we will find the fourth flag.
If we further read the contents of the database.sql file, we will see that we have a password that we can try for different users to log in. Let’s create a wordlist for usernames and add the previously obtained usernames to the file. We can use this wordlist to perform a password-spraying attack with the help of the hydra tool using the following command:
hydra -L username.txt -p “Obtained_Password” ssh://<Machine_IP> -t 10
We will find that we obtained the SSH password for clarice user.
Let’s access the target machine using this credential pair with the help of the following command:
ssh clarice@<Machine_IP>
After logging in to the machine, we will find our fifth flag in the home directory of the clarice user.
Privilege Escalation on Clocky
To get root access to the machine, we have to find a way. If we check the contents of our home directory, we will find a folder named app under which we have an .env file. If we check the file, we will find the password for the MySQL database. So, let’s access the database using the following command:
mysql -u clocky_user -p
After running the above command, we will be asked to provide the obtained password. We successfully got access to the MySQL database. Now we can use the following commands to search for databases, tables, and their contents.
show databases;
use mysql;
select * from the user;
After running these commands we got some hashes but these hashes are not the exact password hash. We need to find a way to convert them. After a lot of research, we got to know about a way to get the password hashes of users on MySQL. We need to know the version of the MySQL server for this to work. We can check the same using the following command:
mysql -V
After running the above command, we can see that the version of MySQL is 8.0.34-0ubuntu0.20.04.1.
We found an article where the method to exploit the same is mentioned according to Mysql version 8. We can get the SHA256 hashes for all users using the following command:
SELECT `User`, CONCAT(‘$mysql’,LEFT(authentication_string,6),’*’,INSERT(HEX(SUBSTR(authentication_string,8)),41,0,’*’)) AS hash FROM mysql.user WHERE plugin = ‘caching_sha2_password’ AND authentication_string NOT LIKE ‘%INVALIDSALTANDPASSWORD%’ AND authentication_string !=”;
Now we need to copy each hash and provide the same to hashcat tool to crack them using the following command:
hashcat -m 7401 -a 0 hash.txt /usr/share/wordlists/rockyou.txt -O –session hash.txt
Here the hash mode is MySQL SHA256 hash. After a few minutes, we will find that one of the provided hash is cracked and we can see the clear text password using the following command:
hashcat -m 7401 –show hash.txt
Finally, let’s try this password for the root user and we will find that we are successfully logged in as root user. Now we can read the contents of sixth flag and solve the CTF.
In this machine, we understood the MySQL-related vulnerabilities and used many penetration testing tools like nmap, gobuster, hydra, and hashcat. We hope that the concepts and techniques discussed in this blog have been clear to you.
You can check out our other blogs on TryHackMe rooms here.
Happy Pentesting!!!
Team CyberiumX


